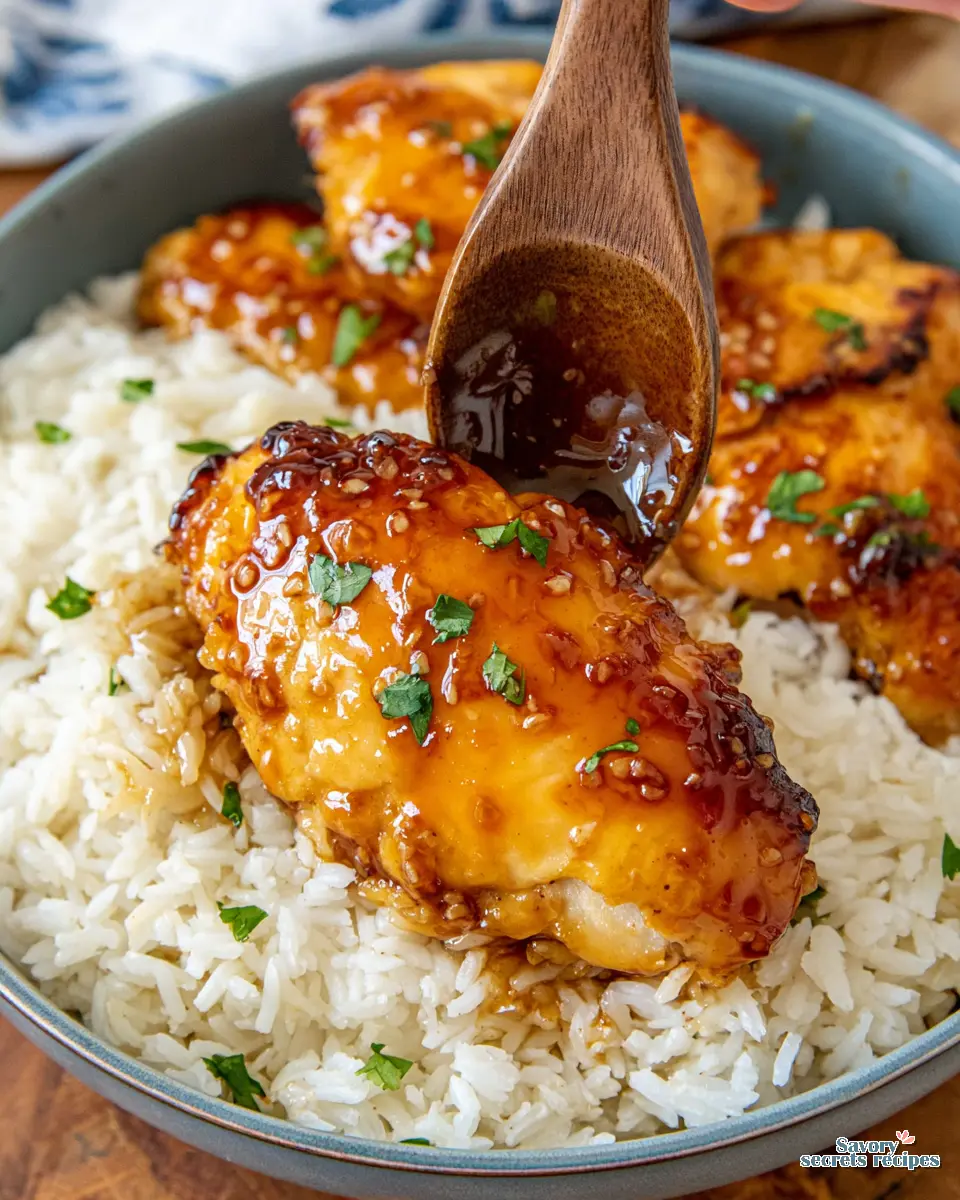
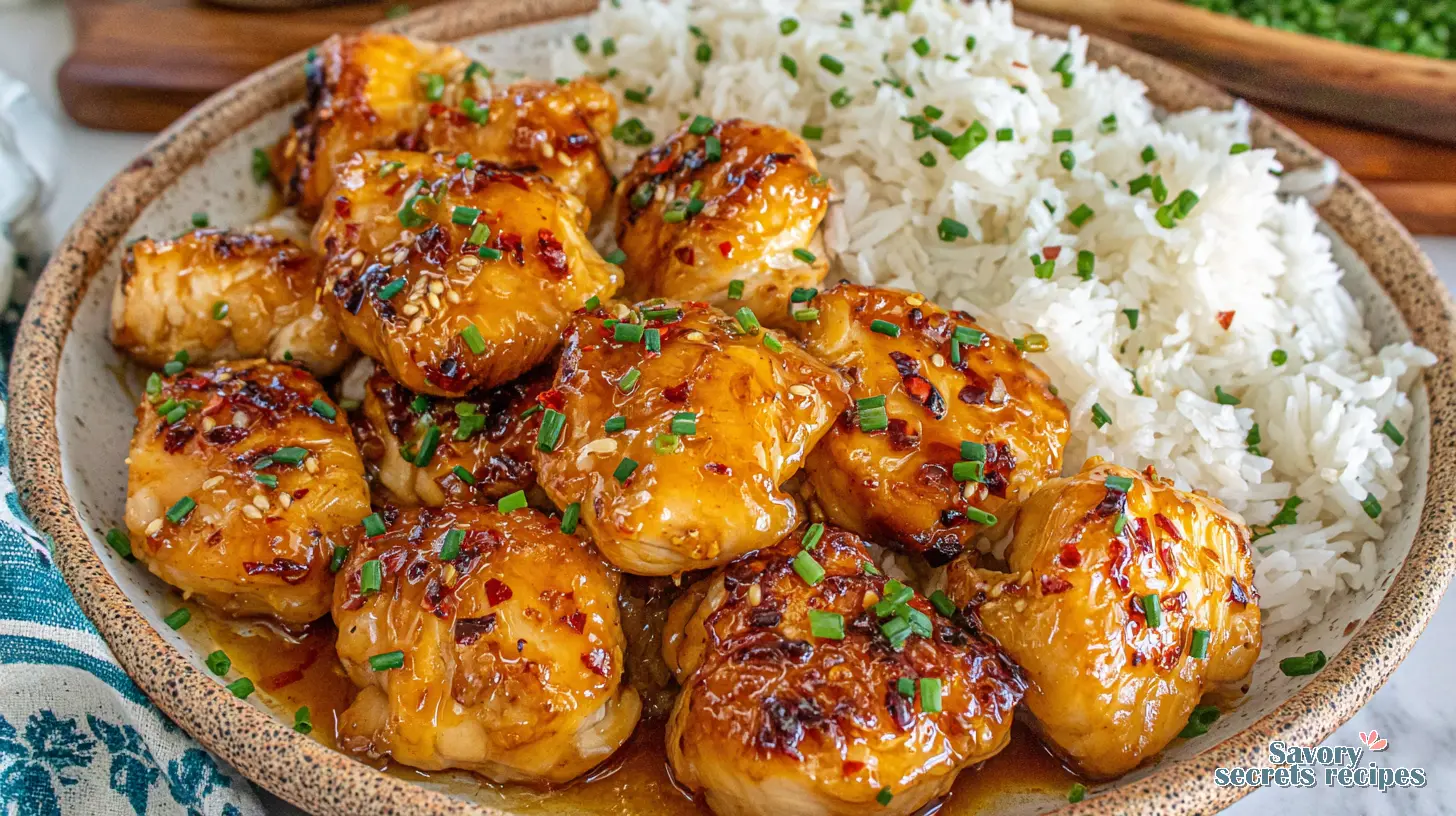
84-Hour Honey Garlic Chicken Meal Prep
Ingredients
Method
- Cut the chicken into 1-inch cubes. In a bowl, season with salt, black pepper, and garlic powder until evenly coated.
- Add cornstarch and mix well.
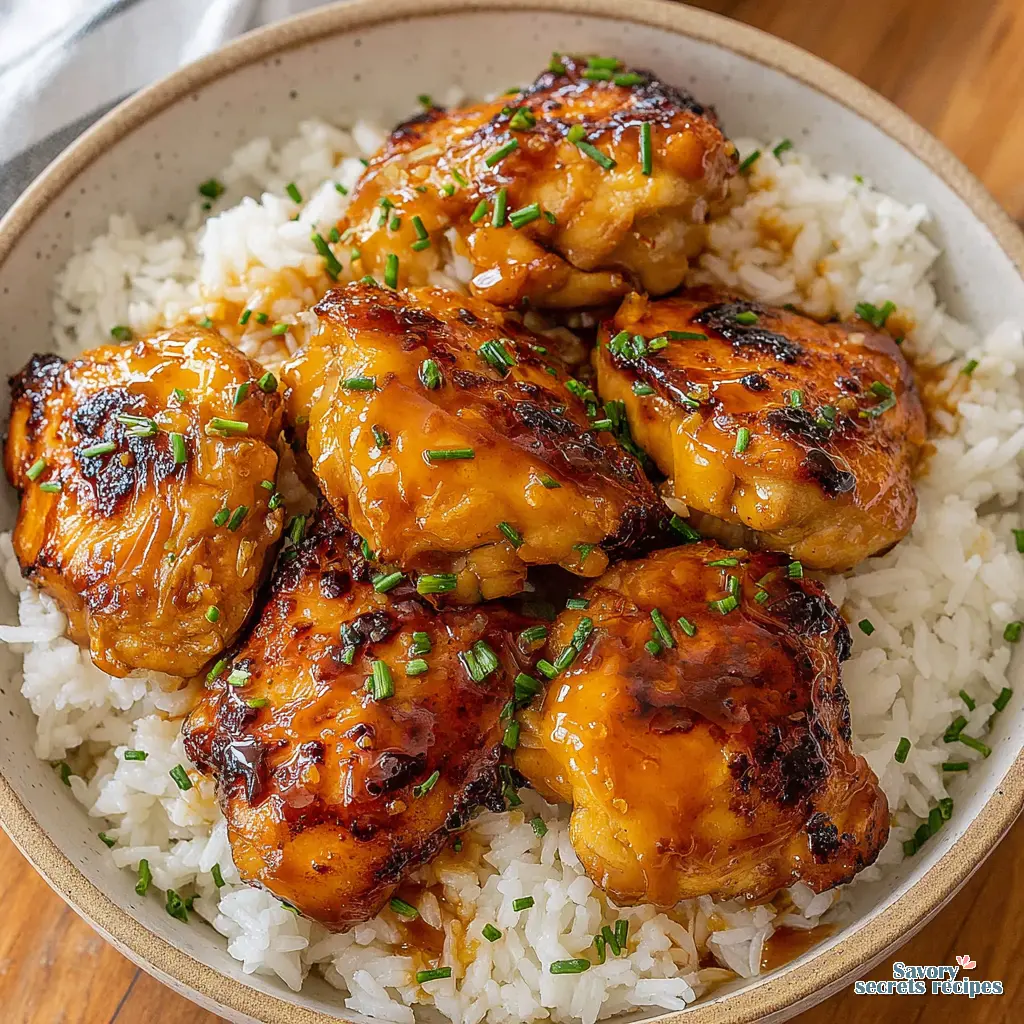
- Heat avocado oil over medium-high heat in a large skillet. Add chicken and sear until golden brown and crispy, about 5 minutes per side. Remove the chicken and set aside.
- In the same skillet, lower the heat and add minced garlic and red chili flakes (optional). Sauté 1 minute until fragrant.
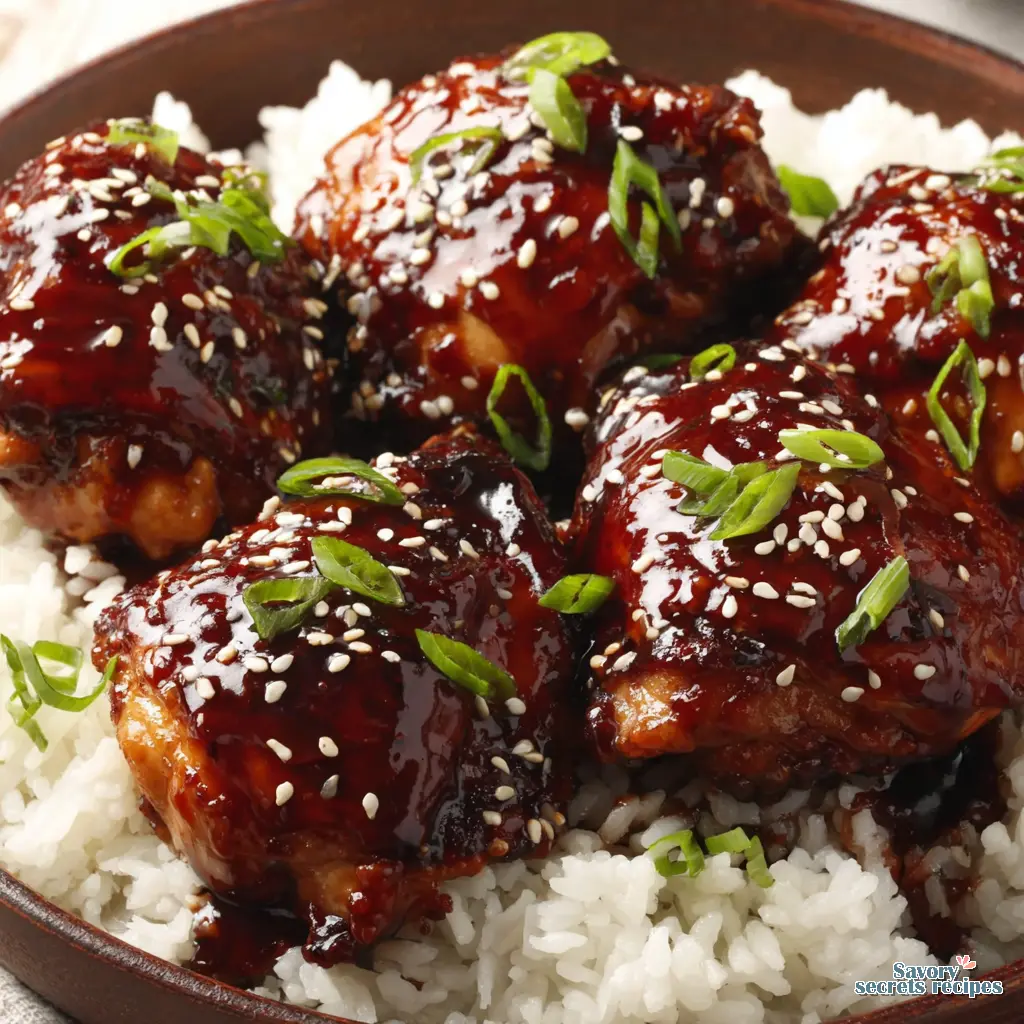
- Stir in honey, soy sauce, lemon juice and water. Stir until the sauce slightly thickens for 2 minutes.
- Drop in cold butter and swirl until glossy and luscious.
- Add chicken back to the pan and toss to coat.
- Serve and enjoy
Nutrition
Notes
Why This Honey Garlic Chicken Meal Prep Is Your New Wednesday Hero
Let me think through this. It’s Wednesday evening, you’re staring into the fridge, and the thought of cooking from scratch feels like a monumental task. I’ve been there, more times than I’d like to admit. That’s the exact moment this honey garlic chicken and rice meal prep recipe was born from, a desperate need for something that felt like a real dinner but didn’t require real effort on a weeknight. To be honest, it’s the recipe I make more than any other, and it’s saved my sanity (and my diet) more times than I can count.
This isn’t just another meal prep idea. It’s a framework. A delicious, sticky, savory-sweet framework that you can tweak based on what’s in your fridge. The promise is simple: about an hour of work on a Sunday, and you’ve got lunches or dinners that will genuinely excite you all week long. Imagine opening your container at work and actually looking forward to what’s inside. That’s the good stuff.
Choosing Your Path: Stovetop, Oven, or Air Fryer?
Here’s what I’m seeing in the questions I get. People want to know the *best* way to cook the chicken for this honey garlic chicken and rice meal prep. Fair enough. The truth is, there isn’t one single best way, just different trade-offs. I’ll break down the three main methods so you can pick what works for your kitchen and schedule.
First, the classic stovetop sear. You get incredible fond (those browned bits in the pan) that adds deep flavor to your sauce, and it’s fast. The catch? You absolutely must cook in batches. Overcrowd that pan, and you’ll steam the chicken into rubber. I’m not convinced yet that everyone has the patience for this, but if you do, the flavor payoff is huge.
Second, the oven. Toss your cornstarch-coated chicken on a sheet pan, drizzle with oil, and bake. It’s hands-off and great for large batches, but you won’t get that intense, crispy sear. The texture is more uniformly tender.
Finally, the air fryer. This is my personal go-to for a smaller batch. I do 400°F for about 12 minutes, flipping halfway. The color and crispiness are fantastic, almost like it’s fried. But you still have to cook in batches for proper air circulation, and you’ll need to cook any veggies separately afterward. So, stovetop for max flavor, oven for max ease, air fryer for a perfect middle ground. You really can’t lose. If you love the convenience of a one-pan meal, our honey garlic chicken rice bake is another fantastic hands-off option.
The Science Behind the Stick (And Why Cornstarch Isn’t Optional)
I need to be honest about one ingredient. Don’t skip the cornstarch. I know it seems like a small, dusty step, but it’s the secret to everything you love about takeout honey garlic chicken. Here’s why it works.
That cornstarch coating does two magical things. First, it creates a delicate barrier that seals in the chicken’s juices while it cooks, preventing dryness. Second, and more importantly for that iconic sticky sauce, it provides a slightly textured, porous surface for the sauce to cling to. Without it, the glossy honey garlic sauce would just slide right off onto your rice. The cornstarch helps it grab on and stay put, ensuring every single bite is coated. It’s not being fussy. It’s the difference between “meh” and “wow.”
And while we’re talking sauce, let’s talk thickening. If your sauce isn’t getting as thick and glossy as you’d like, just let it simmer a bit longer. The sugars in the honey need time to caramelize and reduce. Trust the process here. It should coat the back of a spoon.
Building Your Bowls: A Strategy for Freshness All Week
The biggest fear with any chicken and rice meal prep is sogginess. I get it. Nothing’s sadder than mushy rice on a Thursday. But a simple strategy fixes this. You’ve got to think in layers and store with intention.
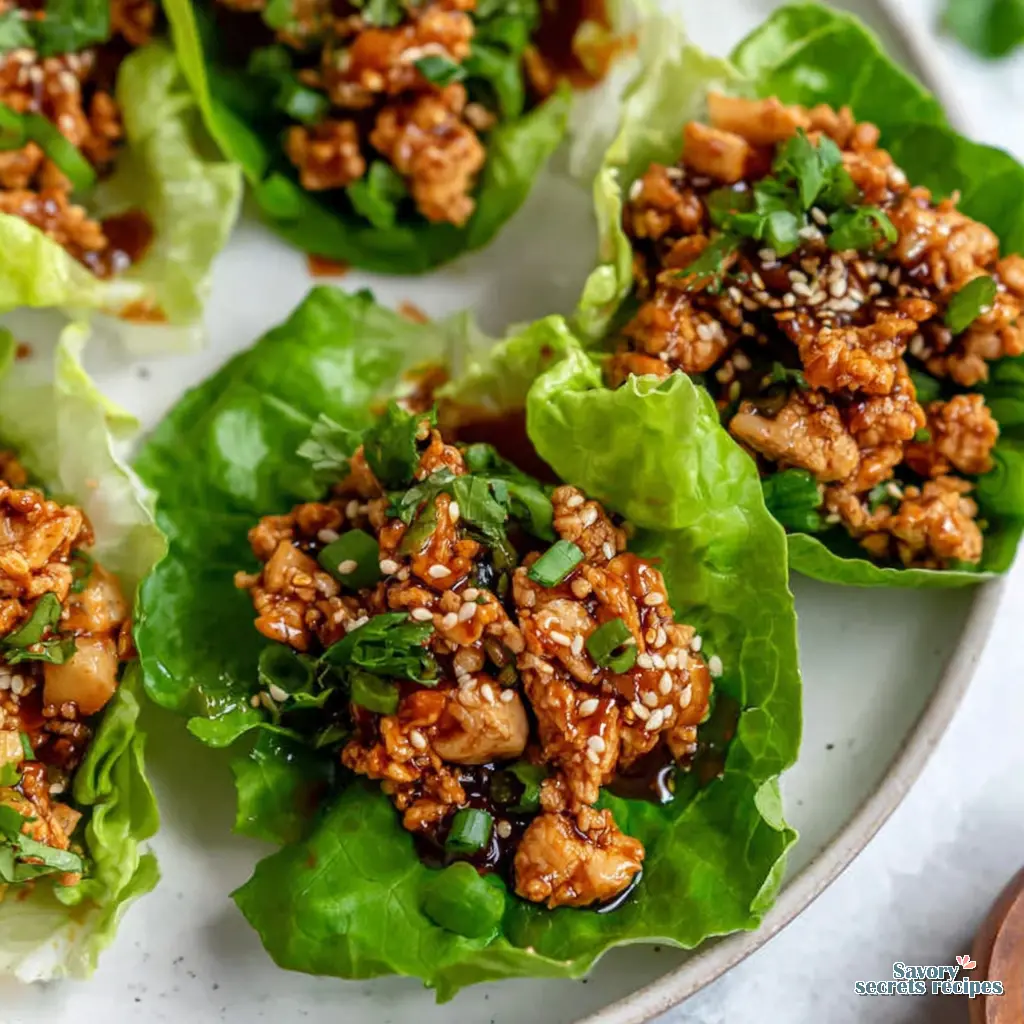
My method? I keep components mostly separate. Rice gets its own container. The honey garlic chicken and any sturdy veggies (like broccoli or green beans) can hang out together in another. For leafy greens or something that wilts, like spinach, I pack those raw in a small baggie and add them fresh when I assemble my bowl before reheating. This little bit of extra thought preserves texture so much better.
When you pack your lunch, grab a portion of rice, top it with the chicken mix, and maybe add a handful of those fresh greens. Now, when you reheat, the rice steams, the chicken and sauce get hot, and the fresh elements stay bright. It feels like you just made it. For more inspiration on perfect bowl assembly, explore our honey garlic chicken rice bowl recipe.
Common Mistakes & Fixes
Mistake: The chicken is steaming, not browning.
Solution: Your pan is too crowded. Cook in batches, no matter which method you use. Give the pieces space to sear properly.
Mistake: The sauce is too thin and runny.
Solution: You probably didn’t simmer it long enough. Let it bubble gently for a few more minutes; it will thicken as it reduces.
Mistake: The dish tastes too salty.
Solution: You likely used regular soy sauce. I always test with low-sodium. If you only have regular, reduce the amount and add a splash of water.
Mistake: The rice is gummy by day three.
Solution: Let the rice cool completely before you lid the container. Trapped steam is the enemy. Better yet, store it separately.
Your Guide to Swaps and Substitutions
Allergic to sesame? No oyster sauce in the pantry? That’s okay. This recipe is incredibly adaptable. I like recipes that give you a framework, then trust you to adjust.
For a gluten-free honey garlic chicken, simply swap the soy sauce for Tamari. It’s that easy. If you’re allergic to sesame oil, just leave it out. You’ll miss a bit of toasty depth, but the sauce will still be fantastic with a tiny extra splash of a neutral oil.
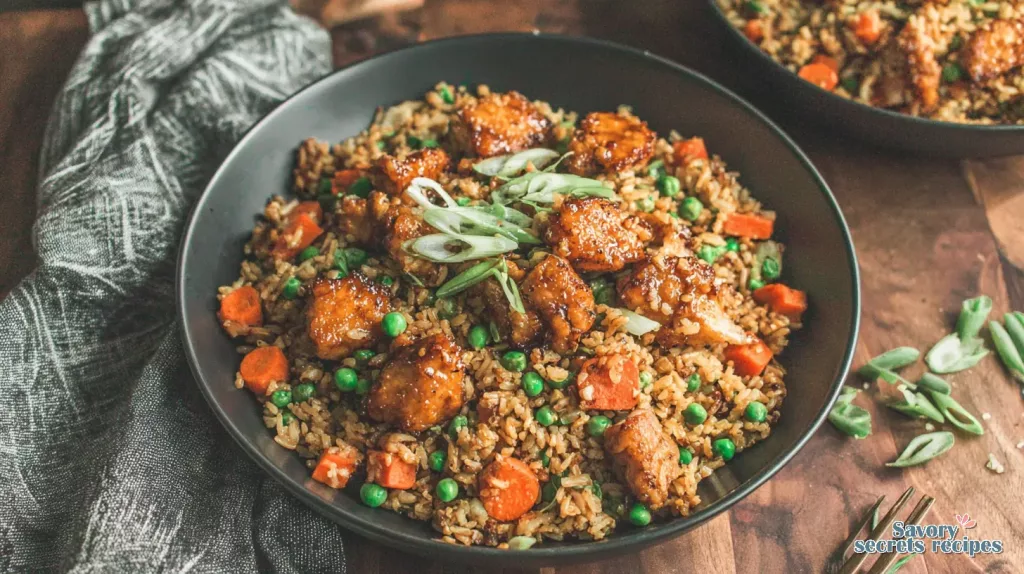
Protein swaps are fair game too. Shrimp cooks up incredibly fast in this sauce. For a vegetarian version, use extra-firm tofu. Press it well, cube it, and toss it in cornstarch just like the chicken before pan-frying. The sauce clings to it beautifully. My daughter went through a phase where she’d only eat “white and brown foods,” so I started grating carrots into the rice and calling it “confetti rice.” Small victories. For a different take that incorporates citrus, try our honey lemon garlic chicken with rice.
Storing, Reheating, and Making It Last
So, what can you make that will last 84 hours? Or even five days? This honey garlic chicken and rice meal prep can. But you have to do it right.
Store your components in airtight containers in the fridge. They’ll keep for 3 to 4 days, no problem. For the freezer, pack individual portions in freezer-safe bags or containers. Squeeze out all the air, seal tightly, and it’ll be good for up to 3 months. Label it. Future you will be grateful.
Reheating is key. The microwave is fine, but cover your bowl with a damp paper towel to help everything heat evenly without drying out. If you have a minute, reheating in a skillet over medium heat is even better. It can revive a bit of that original texture. And never, ever skip the fresh finish. A squeeze of lime juice, a sprinkle of green onion, maybe a few sesame seeds. That bright, fresh hit at the end makes all the difference.
Frequently Asked Questions
The Final Takeaway
This honey garlic chicken and rice meal prep is more than a recipe. It’s a system for eating well when life gets busy. It’s the relief of knowing dinner is handled, the pride of sticking to your goals, and the simple joy of a really flavorful bite on a Tuesday afternoon. I could eat this every week, and sometimes I do.
Give it a try this Sunday. Taste as you go, trust the browning process, and don’t stress about perfection. When you pop open that container on Wednesday, you’ll feel so accomplished. For more healthy, make-ahead inspiration, check out my Pinterest boards where I share tons of variations. Now we’re talking.
Source: Nutritional Information
What goes well with honey garlic chicken?
Beyond rice, it’s fantastic with quinoa, cauliflower rice, or even soba noodles. For veggies, try steamed broccoli, snap peas, or roasted Brussels sprouts. That balance of rich and bright is what I love.
How do you thicken honey garlic sauce?
Simmer it! The sauce thickens naturally as the water evaporates and the honey caramelizes. If you’re in a real rush, mix a teaspoon of cornstarch with a tablespoon of cold water and stir it into the simmering sauce. It’ll thicken almost instantly.
Do you season chicken before cooking?
Yes, always. Season in layers. I toss the cubed chicken with salt, pepper, and the cornstarch. That initial seasoning from the inside out makes a huge difference in the final flavor of your honey garlic chicken and rice meal prep.
Can I cook the chicken for this meal prep entirely in the air fryer?
Absolutely. Cook the coated chicken in batches at 400°F as directed. For onions or other veggies, you can add them to the basket for the last 5-7 minutes. Just don’t overcrowd it, or they’ll steam.
What can I use if I’m allergic to sesame and oyster sauce?
Skip the sesame oil entirely. For the oyster sauce, substitute with an extra tablespoon of soy sauce (or Tamari) plus a half teaspoon of brown sugar or maple syrup to mimic that sweet, savory depth.
Is this honey garlic chicken rice meal prep freezer-friendly?
It freezes very well. Portion it into airtight containers, leaving a little space for expansion. Thaw in the fridge overnight and reheat gently. The texture of the rice is best if frozen separately from the sauced chicken, but it’ll still taste great.