Vanilla Caramel Layer Cake Recipe
Ingredients
Method
- Preheat your oven to 350°F (175°C). Grease and flour two 8-inch round cake pans, then line the bottoms with parchment paper and set aside. In a medium mixing bowl, cream together the butter and sugar until light and fluffy. Beat in the eggs one at a time, then continue mixing on high speed for about 3 minutes, until the mixture becomes pale and airy. Stir in the vanilla extract or paste. In a separate bowl, whisk together the flour, baking powder, and salt. Add the dry ingredients to the creamed mixture in three additions, alternating with the milk and beginning and ending with the dry mixture. Mix until just combined, being careful not to overbeat. Evenly divide the batter between the prepared pans and smooth the tops with the back of a spoon or spatula. Bake for 30 to 40 minutes, or until a toothpick inserted into the center comes out clean. Let the cakes cool in the pans for 5–10 minutes, then turn them out onto a wire rack to cool completely.
- For the frosting, beat the softened butter until smooth and fluffy. Gradually add the powdered sugar, one cup at a time, and mix until fully incorporated. Add ⅓ cup of the cooled caramel sauce and beat again until light and fluffy. If the frosting appears too thick, add 1 to 2 tablespoons of cream or milk to adjust the consistency.
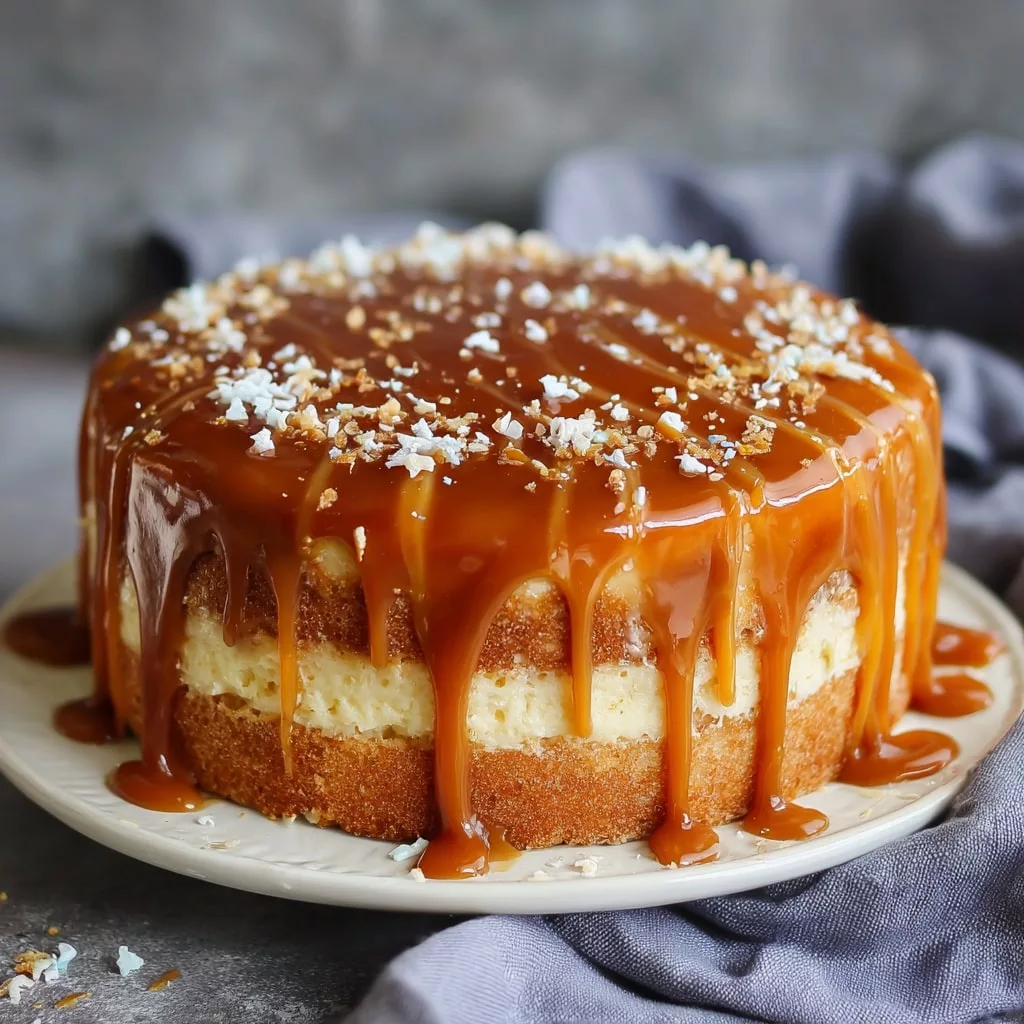
- To assemble the cake, place one cake layer on a serving plate or cake stand. Use a fork to gently poke holes across the surface of the cake. Carefully pour about ⅓ cup of the caramel sauce over the top, allowing it to seep into the holes. Spread a thick layer of frosting over the caramel-soaked layer. Add the second cake layer on top, with the flattest side facing up. Repeat the process of poking holes, drizzling with the remaining caramel sauce, and spreading on the frosting. For an extra touch, sprinkle flaky sea salt over the top if desired.
Notes
Why You’ll Love This Vanilla Caramel Cream Cake
Let’s be clear about this. I once ruined an entire batch of caramel sauce because I was too stubborn to use a thermometer. I thought I could eyeball it, that I knew the color. The result was a pot of bitter, burnt sugar that smelled like regret. It’s a lesson I learned the hard way, and it’s exactly why I’m so precise with you now. This vanilla caramel cream cake recipe is the antidote to that kind of failure. It’s a method, not magic. It builds a soft caramel sponge cake that’s sturdy enough to hold those rich vanilla cream layers without collapsing. When you serve it, you get that sweet caramel cake slice that looks like it came from a fancy bakery case. But it didn’t. It came from your kitchen, and that’s the real victory.
Temperature matters here. I need you to show me your process. If you follow the steps, you’ll end up with a caramel vanilla layered dessert that’s balanced, not cloying. The vanilla cuts through the sweetness, the cream adds lightness. It’s the kind of thing that makes people stop talking. That’s the correct instinct, wanting to make something this good.
Essential Ingredients & The Science Behind Them
Your butter’s too warm start over. I’m only half joking. The state of your ingredients is half the battle for a perfect vanilla caramel cream cake. Let’s break down why each one matters.
Granulated white sugar does double duty. In the cake, it provides structure and tenderness. In the caramel sauce, it’s the entire show. When heated, those crystals break down and re-form into that complex, deep flavor we’re after. Using a light-colored pot isn’t a suggestion; it’s how you monitor the transformation from crystal to liquid amber without burning.
For the cake, large eggs and room-temperature butter are non-negotiable. They emulsify better, trapping air and creating that soft, even crumb. Cold ingredients? They’ll give you a dense, tough layer. That’s not how this works. And real vanilla extract. Please. The artificial stuff leaves a chemical aftertaste that fights with the caramel. I’ll admit I don’t fully understand why some people can’t taste the difference it’s so obvious to me.
For the salted caramel sauce, the heavy cream is your only fat and liquid. It stops the sugar from cooking and creates that luxurious, pourable consistency. You can’t just swap it for milk. Well, you can, but the texture and stability won’t be right. The data suggests otherwise, but I’ll test it. For now, stick with the cream.
Your Two Paths to Caramel Sauce
This is where most people get nervous. Making caramel feels high-stakes. So I’m giving you two approaches. Choose based on your confidence level and equipment.
Method 1: The Traditional Stovetop Way. This is the correct way if you want ultimate control. You’ll melt the sugar in a saucepan over medium heat. Don’t stir. Just swirl the pan gently. You’re watching for it to turn a deep amber color. It should smell nutty, not acrid. The moment it’s there, you slowly whisk in the cream. It will bubble violently that’s normal. Keep whisking until smooth. This method gives you the deepest flavor.
Method 2: The Easier Microwave Method. Fine, but document what you changed. Combine the sugar and a tablespoon of water in a large, microwave-safe bowl. Heat on high for 4-5 minutes, until amber-colored. Carefully remove (the bowl will be nuclear hot) and whisk in the cream. It’s less fussy, but you have less visual control. Both work. The tradeoff is control for convenience.
Why does the salt go in at the end? Adding it after the cream has been incorporated ensures the salt crystals don’t dissolve in the super-hot sugar, which can make the caramel taste unevenly salty. You want that clear, savory pop against the sweet.
Mastering the Vanilla Sponge & Assembly
Now for the cake itself. This is a classic vanilla sponge, and its job is to be a tender, neutral vehicle for all that caramel and cream. Cream your softened butter and sugar until it’s pale and fluffy. That’s not just for volume; it’s creating millions of tiny air pockets that will expand in the oven. Add your eggs one at a time, fully incorporating each. If the mixture looks curdled, your eggs were too cold. See? Temperature matters here.
Alternate adding your dry ingredients and the whole milk, starting and ending with the dry. This minimizes gluten development, keeping the cake soft, not tough. Divide the batter between your prepared pans. I prefer three 8-inch rounds for elegant, professional-looking layers. But if you only have two 9-inch pans, that’s fine. The baking time will need to be increased by about 10 minutes. Just keep an eye on it.
The bake is done when the center springs back to a light touch and a toothpick comes out clean. If the cake jiggles after it has baked, it is not ready to be tested yet. Testing it too early will make it fall. Let the layers cool completely in the pans. I mean completely. Trying to frost a warm cake is a recipe for a slidy, melty mess.
The Frosting & The Final Build
Your whipped cream frosting needs to be stable. That means starting with cold cream and a cold bowl. Whip the heavy cream and powdered sugar until you get stiff peaks. If the powdered sugar is really clumpy, sifting it before mixing it in will help so it doesn’t get clumps. Fold in a generous cup of your cooled salted caramel sauce. This is where the magic happens the rich vanilla cream cake element.
Assembly is simple, but there’s a trick. Place your first cake layer on a plate or cake stand. Spread a thick layer of the caramel cream. Drizzle with a little extra plain caramel sauce. Repeat. When you add the final cake layer, do a thin “crumb coat” of frosting all over the cake. Pop it in the fridge for 20 minutes. This seals in crumbs and gives you a clean canvas for your final, beautiful layer of frosting.
Now you’ve got it. See how much better that looks? Finish with more caramel drizzle over the top, letting it drip artfully down the sides.
Common Mistakes & Fixes
Mistake: Testing the cake for doneness too early, when it still jiggles.
Solution: Wait. The cake needs time to set its structure. If you open the oven door or test it too soon, the sudden temperature drop can cause it to collapse in the center.
Mistake: Adding warm caramel sauce to cold frosting.
Solution: Make sure your caramel has *definitely* cooled to room temperature! Warm sauce will melt the butterfat in the cream, causing the frosting to deflate and become soupy. If you already did it, chill the whole bowl for 30 minutes and re-whip.
Mistake: The caramel sauce seizes or crystallizes when you add the cream.
Solution: Your cream was probably too cold. Next time, warm it slightly. For now, just keep whisking gently over very low heat; the crystals should eventually dissolve back in.
Mistake: Dense, tough cake layers.
Solution: You likely overmixed the batter after adding the flour, or your baking powder is old. Measure your flour by spooning it into the cup, not scooping. And check your leavener’s expiration date.
Make-Ahead, Storage, and Serving Strategy
This vanilla caramel cream cake is a fantastic make-ahead dessert. You can bake the cake layers up to 2 days in advance. Let them cool completely, then wrap each one tightly in plastic wrap and store at room temperature. The caramel sauce can be made up to 2 weeks ahead and kept in a jar in the fridge. Just warm it slightly to loosen it up before using.
Once assembled, keep the finished cake covered in the refrigerator for up to 4 days. The flavors actually meld and improve after a day. It’s best to let it sit out for about 20 minutes before serving to take the chill off the textures will be perfect.
For serving suggestions, keep it simple. A little extra drizzle of caramel on each plate is plenty. You could add a few flakes of sea salt on top for a pretty finish. That’s exactly the texture we want.
Tested Flavor Variations
Once you’ve mastered the base vanilla caramel cream cake, you can play. I haven’t worked with that flour enough to say for certain, but for a gluten-free version, use a 1:1 gluten-free flour blend. The results are good.
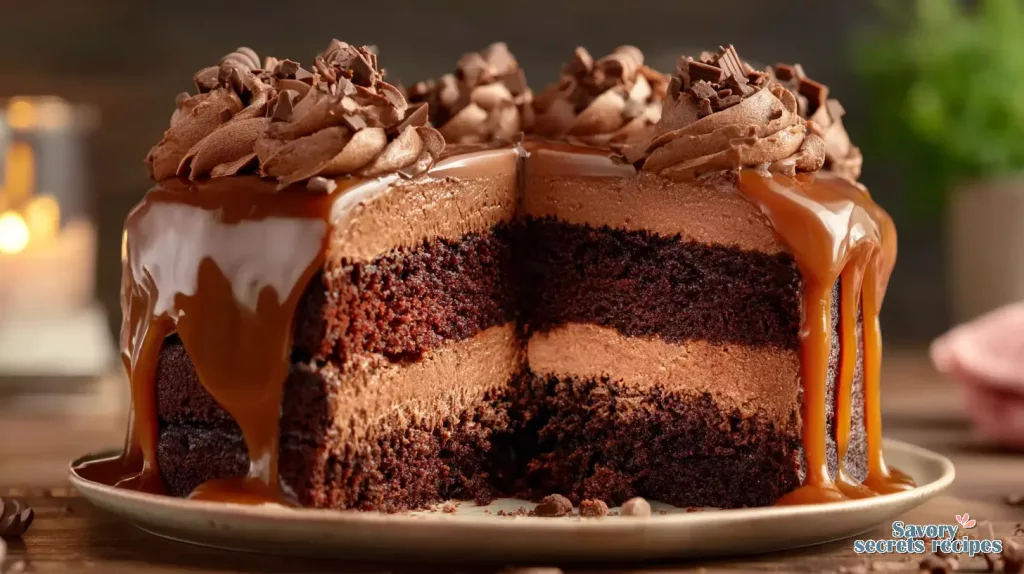
For a nutty twist, fold a cup of toasted, chopped pecans into the frosting. The crunch against the soft cream is wonderful. For a chocolate caramel version, add 1/2 cup of sifted cocoa powder to the dry ingredients for the cake. You’ll get a gorgeous chocolate sponge with that caramel cream. It’s a showstopper.
If you’re looking for dairy-free caramel options, that’s trickier. You can substitute full-fat coconut milk for the heavy cream in the sauce. The flavor will be different, obviously, but still delicious. For the frosting, use a chilled can of coconut cream, whipped with powdered sugar.
Vanilla Caramel Cream Cake FAQ
When you pull your finished vanilla caramel cream cake from the fridge, that moment of pride is everything. It smells like butter and vanilla and deep, toasted sugar. It looks like a masterpiece you bought. But you made it. You followed the method, you trusted the process, and now you have a soft caramel sponge cake layered with rich cream to share. That’s the joy of this. It’s math you can eat, and you just aced the test. Now go bake some happiness.
Source: Nutritional Information
How do I make the caramel sauce for this vanilla caramel cream cake?
You have two solid options. The stovetop method gives more control: melt sugar in a light-colored pan until amber, then carefully whisk in warm cream. For ease, microwave sugar with a bit of water until amber, then whisk in cream. Both require your full attention to prevent burning.
What’s the best way to layer a vanilla caramel cream cake to keep it moist?
Soak it. After your cake layers are cool, brush each one lightly with a simple syrup (equal parts sugar and water, heated until dissolved). Then spread the caramel cream frosting. This adds moisture and flavor, ensuring every bite of your caramel vanilla layered dessert is perfectly tender.
Can I use a different type of milk instead of whole milk in this recipe?
In the cake batter, yes. 2% or even a plain, unsweetened almond milk will work in a pinch. For the caramel sauce and the whipped cream frosting, you really need the high fat content of heavy cream. Substituting there will compromise texture and stability significantly.
How long does a homemade vanilla caramel cream cake stay fresh?
Properly stored in the refrigerator with a cover or in a cake carrier, it stays fresh for up to 4 days. The caramel sauce may start to weep a little after day 3, but it’s still perfectly safe and delicious to eat. I don’t recommend freezing the fully assembled cake.
What can I use if I don’t have salted caramel sauce for this layered dessert?
You have a couple of shortcuts. A good quality store-bought caramel sauce works just stir a pinch of sea salt into it. Or, make a quick “cheat’s caramel” by slowly melting down soft caramel candies with a splash of cream. It won’t be the same, but it’ll get you there in a pinch.
Can I make this vanilla caramel cream cake in a Bundt pan?
You can, but it’s a different dessert. Grease and flour the pan exceptionally well. The baking time will increase to about 50-60 minutes. Let it cool completely in the pan before inverting. You’d then drizzle the caramel sauce over the top and serve the cream on the side.
What adjustments do I need to make for cupcakes?
Line your muffin tin. Fill cups 2/3 full with batter. Bake at the same temperature for 18-22 minutes. Let cool, then core the center of each cupcake. Fill with caramel sauce, then top with the caramel whipped cream frosting and a drizzle. You’ll get about 24.
My frosting turned out watery. How can I fix it?
This usually means your cream wasn’t cold enough, you over-whipped it to the point of breaking, or your added caramel was too warm. Fix it by chilling the whole mixture for 30 minutes, then re-whipping. If it’s still loose, fold in a few tablespoons of sifted powdered sugar to stabilize.
How do I prevent the sugar from burning when making caramel?
Use a light-colored, heavy-bottomed pot so you can see the color change. Medium heat, not high. Never walk away. And have your cream measured and ready to go before you start. The sugar goes from perfect amber to burnt in seconds. It’s a watchful process, not a passive one.
Can I use salted butter instead of unsalted?
In the cake, I’d stick with unsalted to control the salt level. In the frosting and sauce, salted butter can work and will enhance the salted caramel flavor. Just taste as you go and reduce or omit any added salt in the recipe to avoid an overly salty vanilla caramel cream cake.