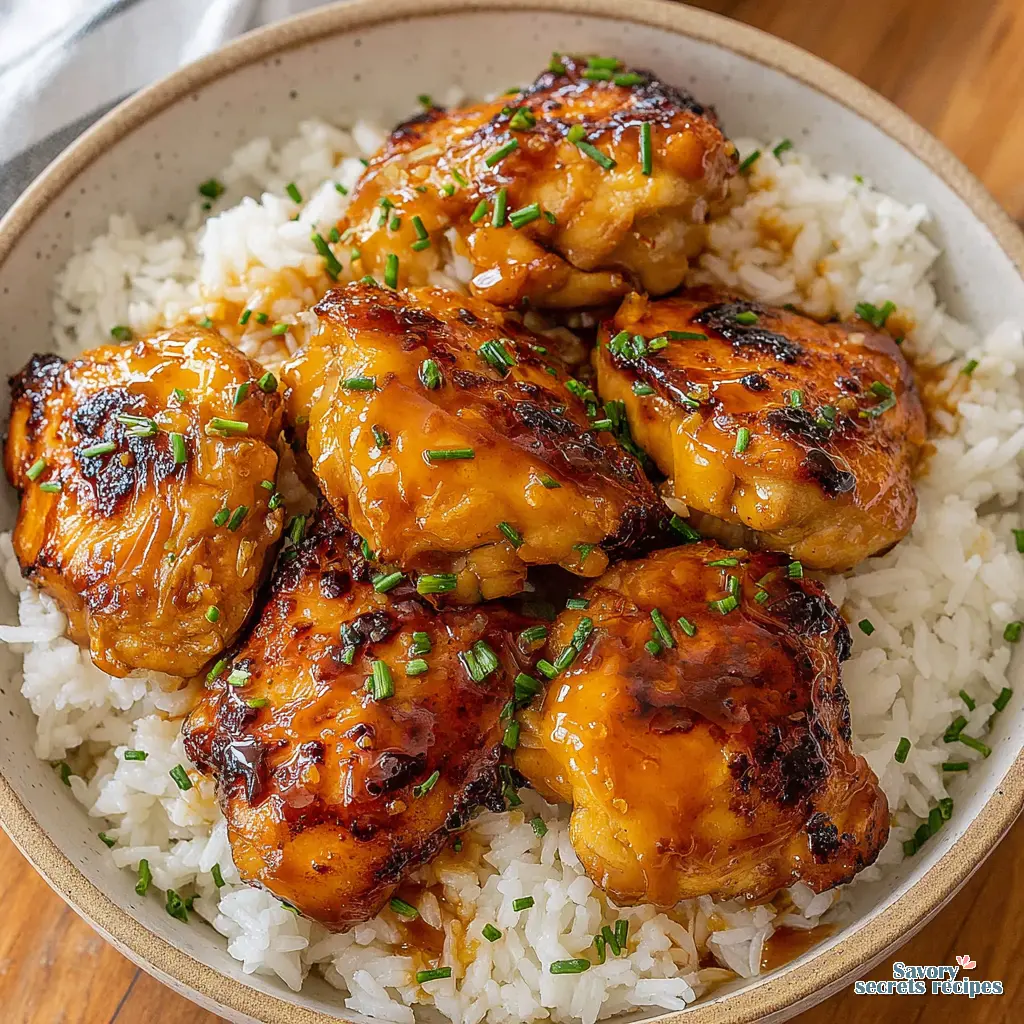
Quick Honey Garlic Ground Chicken Rice Dinner
Ingredients
Method
- Add all sauce ingredients to a medium bowl and stir well until sugar, honey, and cornstarch dissolve.
- Heat oil in a large skillet over medium-high heat. Sauté chopped onion and garlic for 1 to 2 minutes, until translucent.
- Add chicken and cook, stirring continuously and breaking up any lumps, until the chicken is cooked through and no longer pink (about 5 minutes).
- Add the sauce and cook, stirring continuously, until most of the liquid evaporates (about 1 minute). Do not cook until dry; the dish should remain saucy.
- Stir in lemon juice and chopped scallions, then serve with cooked rice.
Nutrition
Notes
Why This Easy Honey Garlic Ground Chicken and Rice Recipe Actually Works
I’ll be honest with you. I was standing in the meat aisle at Ralphs last Tuesday, holding a pack of ground chicken in one hand and a tray of chicken thighs in the other. The thighs were almost three dollars more. I put them back. And I’m genuinely glad I did, because what I made that night with the ground chicken was better than what I would have made with the thighs. That’s not a consolation story. That’s just the truth.
Ground chicken gets a bad reputation. It’s not as forgiving as beef, and it can go bland fast if you don’t know what you’re doing. But here’s the thing: the honey garlic sauce in this recipe does the heavy lifting for you. It’s sticky, glossy, sweet-savory, and it clings to every crumble of chicken like it was made for this exact purpose. Because it was.
This easy honey garlic ground chicken and rice recipe comes together in about 25 minutes, costs roughly $1.50 to $2 per serving, and tastes like something you’d order from a rice bowl counter in Silver Lake. That tracks with what I’ve seen when I’ve made it for my family on a Wednesday night with one eye on my daughter’s homework and one eye on the skillet. It works. Every time.
What You’ll Need (And What You Probably Already Have)
The ingredient list here is short on purpose. Nearly everything is already in your pantry if you cook even occasionally. Honey, soy sauce, garlic, a little ground ginger, sesame oil, and cornstarch. That’s the sauce. The rest is ground chicken and rice.
Worth noting here: you don’t need fresh garlic if you don’t have it. Pre-minced garlic from a jar is completely fine. I use it myself on busy nights and I’m not even slightly embarrassed about that. The flavor difference in a sauce this bold is genuinely negligible.
Same goes for the rice. A jasmine rice pouch from Trader Joe’s that you microwave in 90 seconds? Totally valid. A rice cooker you started before you even opened the fridge? Great. Stovetop white rice? Also great. The point is, this meal shouldn’t require you to make three separate decisions about rice before you’ve even started the chicken.
In terms of budget: a pound of lean ground chicken runs about $4 to $5 at Vons or Ralphs. The sauce ingredients, if you’re buying them for the first time, add maybe $8 total. But you’ll use those bottles for months. Per serving, this meal lands around $1.50 to $2. That’s not avocado toast money. That’s actually feeding your family well on a tight week.
Step-by-Step: Making Honey Garlic Ground Chicken
Start with a wide skillet or a wok if you have one. Medium-high heat. You want the pan genuinely hot before the chicken goes in. This is where a lot of people go wrong: they add the chicken to a cold pan and it steams instead of browning, and then you get that gray, sad, crumbly texture that gives ground chicken a bad name.
When the chicken hits the hot pan, you’ll hear a satisfying sizzle. Break it up with a wooden spoon or a spatula. Don’t stress about making it perfect. It’ll go from pink and wet to white and crumbly, and then, if you give it another minute or two without stirring too much, the edges will start to get a little golden. That’s what you want. That golden edge is flavor.
Ground chicken is fully cooked at an internal temperature of 165°F (74°C). In practical terms, that means no pink anywhere, a white-to-lightly-golden color throughout, and the texture goes from wet and sticky to slightly firm. The whole process takes about 7 to 9 minutes on medium-high heat. Don’t rush it, but don’t walk away either.
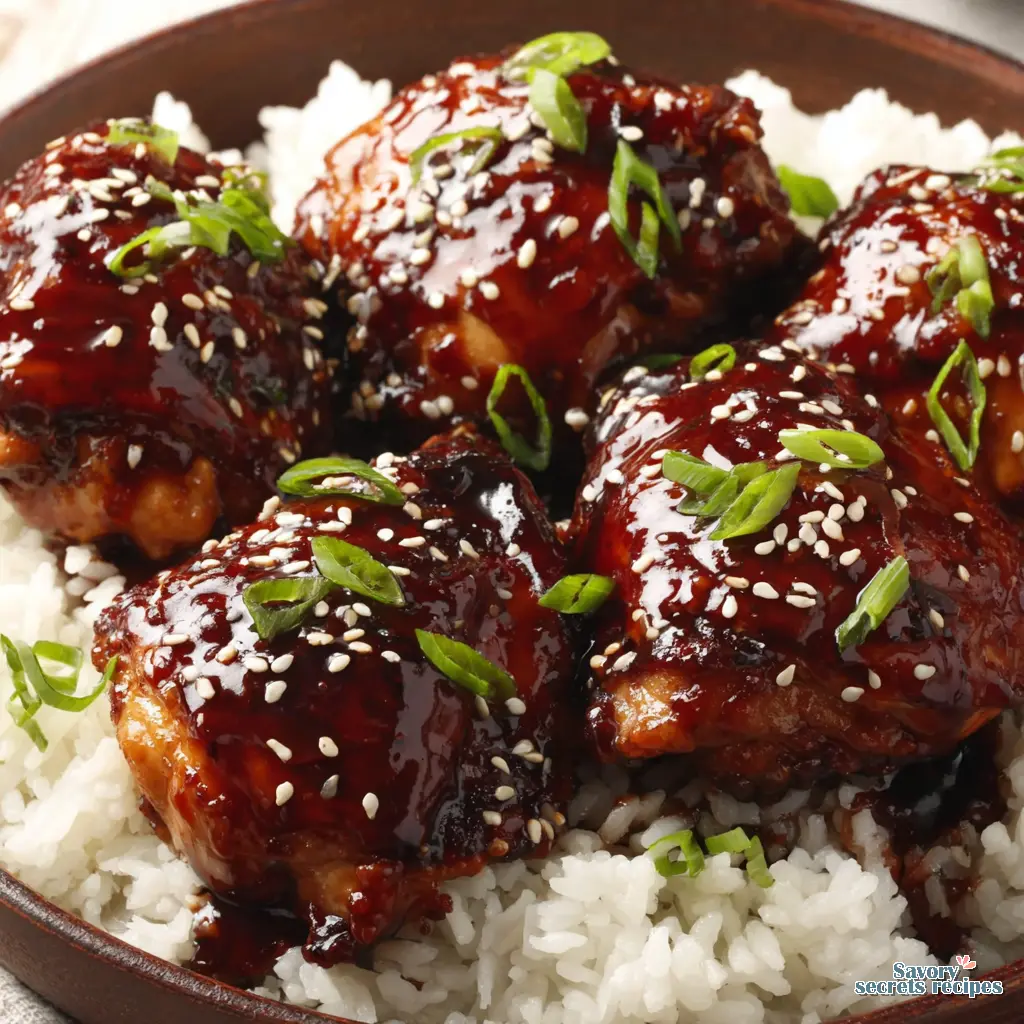
Perfecting Your Honey Garlic Sauce
Here’s where it gets genuinely interesting, from a food science standpoint. The reason you add the sauce after the chicken is cooked, not during, is that honey burns fast. The sugars in honey start to caramelize around 320°F (160°C), which sounds high but happens quickly in a hot skillet. Add it too early and you’ll get bitter, dark spots instead of that glossy amber glaze. One sentence of science, but it makes a real difference.
When the sauce hits the cooked chicken, the smell changes immediately. The garlic blooms in the heat, that sharp raw smell cooks off within about 30 seconds, and what’s left is this deep, sweet, savory fragrance that fills the whole kitchen. My daughter always appears in the doorway at exactly this moment. Every single time.
The cornstarch is your thickening agent here. It’s mixed into the sauce before it goes in, and as the liquid heats up, the starch granules absorb water and swell, creating that sticky, glossy consistency. This is genuinely interesting: the sauce goes from thin and watery to thick and clingy in about 60 to 90 seconds of simmering. You’ll see it happen. The bubbles get slower and the sauce starts to coat the back of your spoon.
If your sauce isn’t thickening, turn the heat up slightly and give it 60 more seconds. It’ll come together. And if it gets too thick, just splash in a tablespoon of water and stir. This sauce is very forgiving. I promise.
How to Cook the Rice So It’s Ready at the Same Time
If you’re cooking stovetop jasmine rice, start it before the chicken. Jasmine rice needs less liquid than you might think: a 1:1.5 ratio of rice to water works well (1 cup rice to 1.5 cups water). Bring it to a boil, drop to the lowest heat, cover, and leave it alone for 15 minutes. Then off the heat, still covered, for 5 more minutes. That’s it. Don’t lift the lid. The steam is doing the work.
Brown rice swap is totally doable but adds about 20 minutes to your cook time. If you’re going that route, start the rice first and do everything else while it cooks. You can also use chicken stock instead of water for extra flavor, though plain water works just fine.
Short on time? The 90-second microwave rice pouches from Trader Joe’s or Costco are genuinely good. I’m not entirely convinced there’s a meaningful quality difference for a weeknight bowl like this. Taste and adjust as you go, but honestly, the sauce is so flavorful it carries everything.
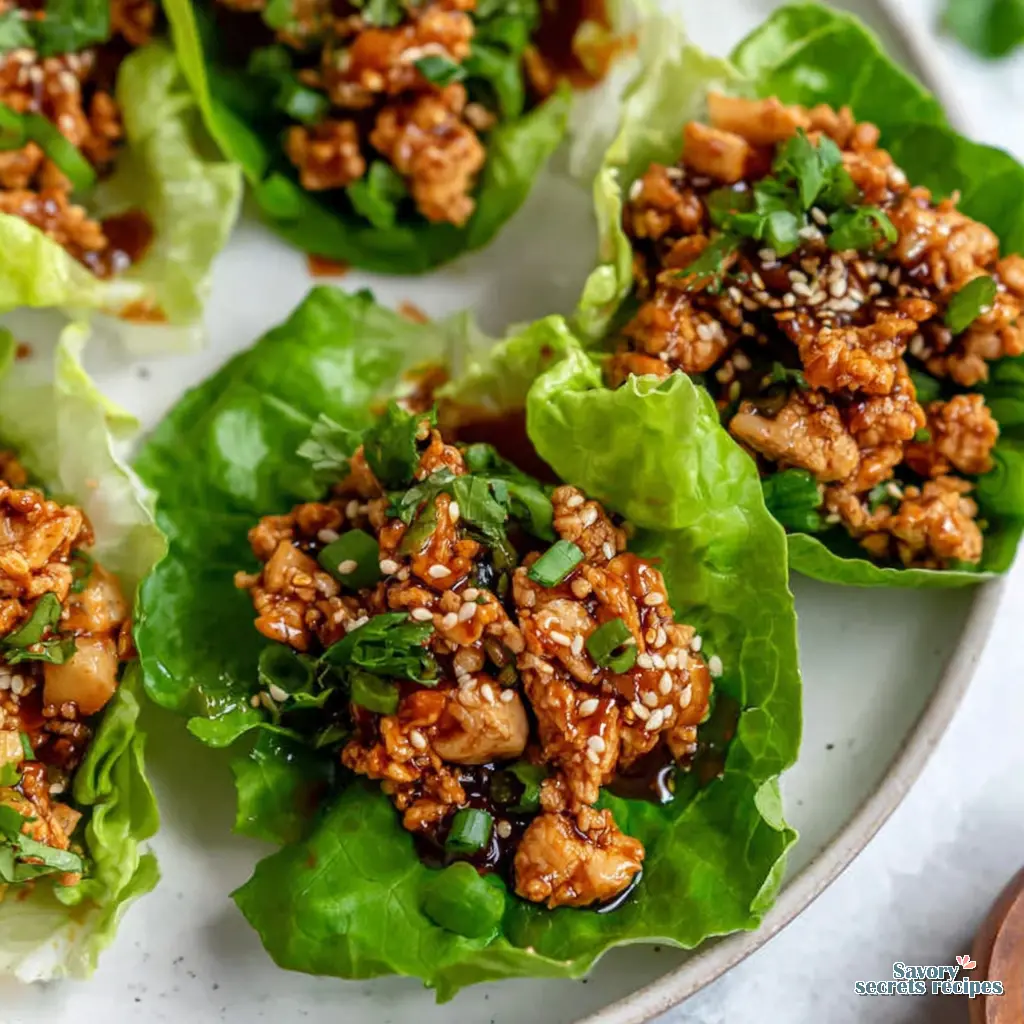
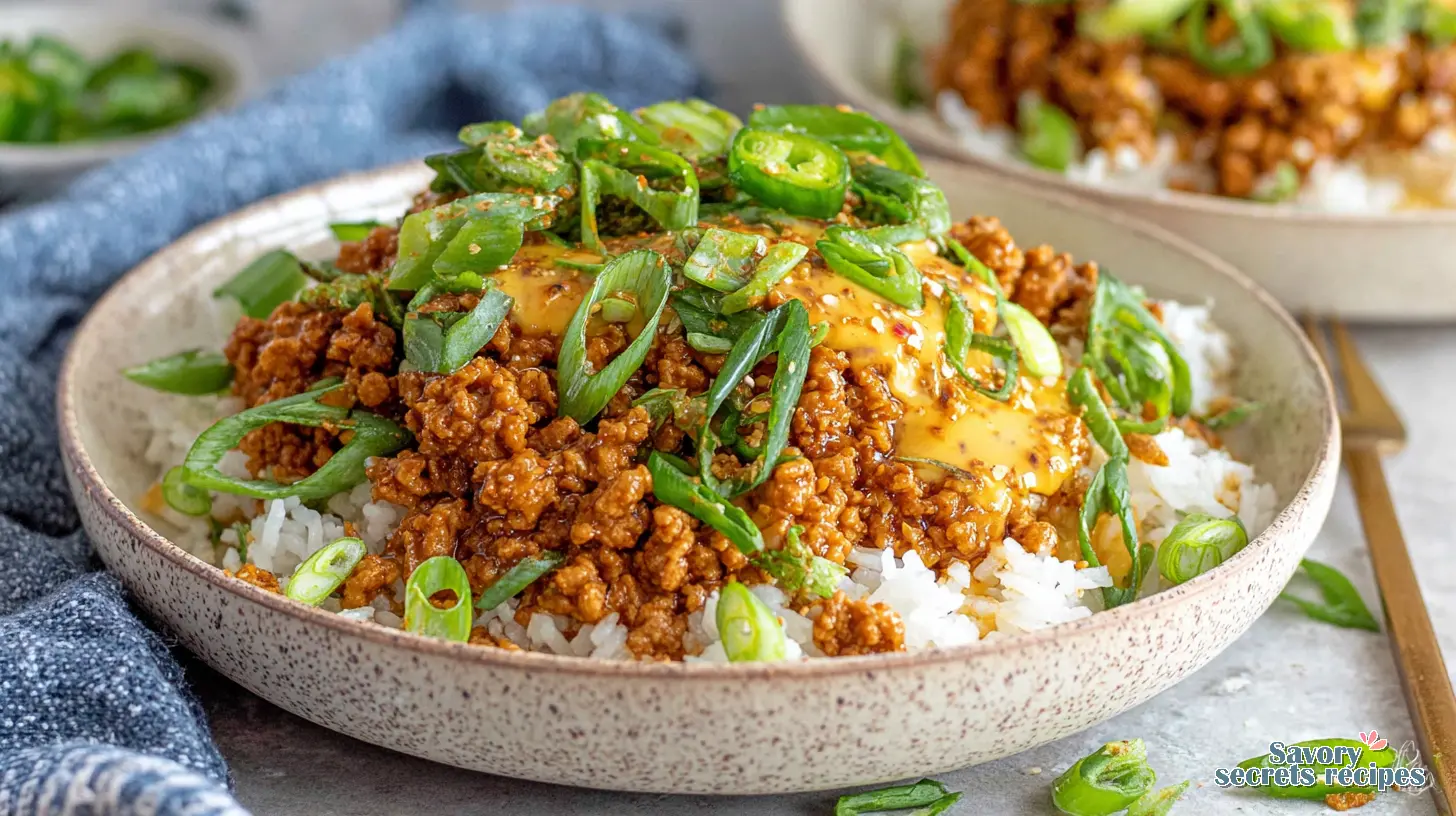
Assembling Your Honey Garlic Chicken Rice Bowl
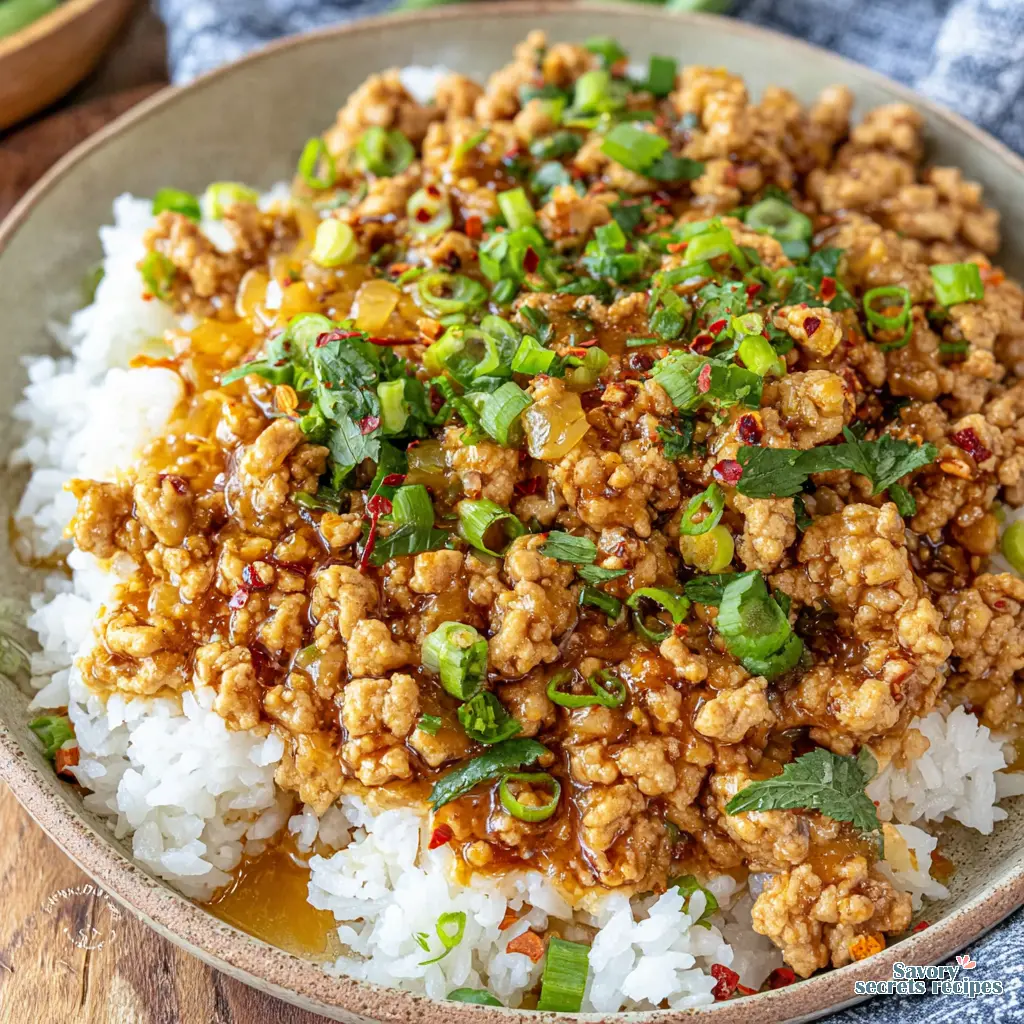
This is the moment. The glossy amber sauce is coating every crumble of chicken. Steam is rising from the rice. The kitchen smells like sweet garlic and sesame, and it’s warm in a way that makes everyone drift toward the kitchen without being called.
Spoon the rice into a bowl first. Then ladle the honey garlic chicken right over the top, making sure you get plenty of that sauce. Don’t be shy with the sauce. That’s the whole point.
For garnish: a sprinkle of sesame seeds, some sliced green onions, and if you want a little heat, a drizzle of sriracha or chili crisp. These aren’t mandatory, but they take the bowl from “really good weeknight dinner” to “wait, did you make this yourself?” Worth it. Truly.
You can also add a handful of fresh spinach or kale right into the skillet in the last 60 seconds of cooking. It wilts fast, adds color and nutrition, and the kids honestly don’t notice it’s there. I’m treating this like a very small clinical trial with an n of 1, but the data supports it. For those prioritizing nutrition, exploring healthy honey garlic chicken and rice recipes can offer additional beneficial variations.
Expert Tips for the Best Honey Garlic Ground Chicken Bowls
The single most important thing I can tell you: don’t cook the chicken until it’s dry. You want it slightly saucy, with that glossy coating clinging to it. The rice needs something to absorb. If the pan looks dry before the sauce goes in, that’s fine. But once the sauce is in, pull it off the heat while it still looks a little wet. It’ll set up as it sits.
For extra caramelization, here’s a trick I’ve tested a few times: after the stovetop cooking, spread the sauced chicken on a sheet pan and put it under the broiler for 2 to 3 minutes. The edges get slightly sticky and charred in the best possible way. This is optional but genuinely impressive if you have the extra 5 minutes.
A few dashes of fish sauce added to the honey garlic mixture is optional, but worth noting here: it adds a layer of umami that’s hard to identify but impossible to ignore. It doesn’t taste fishy. It just tastes more. If you have a bottle in the back of your fridge, use it.
If you want to make this gluten-free, swap the soy sauce for tamari or coconut aminos. Both work well. Coconut aminos is slightly sweeter, so you might reduce the honey by half a teaspoon to compensate. That said, the difference is subtle enough that most people won’t notice.
Common Mistakes and Fixes
Mistake: The chicken turns gray and dry with no texture.
Solution: Your pan wasn’t hot enough before the chicken went in. Heat the skillet for a full 2 minutes on medium-high before adding anything. Let the chicken develop some fond before you start breaking it up constantly.
Mistake: The sauce burns and turns bitter.
Solution: You added the sauce before the chicken was fully cooked. Always cook the chicken through first, then add the sauce. The honey needs a shorter, controlled time in the pan, not the full cook time.
Mistake: The sauce stays thin and watery.
Solution: Make sure the cornstarch is fully dissolved in the sauce before it goes into the pan. Lumps of dry cornstarch won’t thicken evenly. Whisk it thoroughly. Then give the sauce a full 60 to 90 seconds of simmering to activate.
Ingredient Swaps and Variations That Actually Work
Ground turkey is the closest swap for ground chicken. Same lean texture, same cook time, same sauce compatibility. Ground beef works too, though the flavor profile shifts toward something richer and more savory. Both are valid. The easy honey garlic ground chicken and rice recipe logic applies to all of them. For those who prefer different cuts of poultry, exploring options like honey garlic chicken breast over rice can offer a unique take on this versatile dish.
For a low-carb version, cauliflower rice is a solid substitute. I’d recommend sauteing it briefly in the same pan before adding the chicken, just to get some color on it. Plain raw cauliflower rice under a saucy chicken mixture tastes a little sad. Give it 3 minutes in a hot pan first.
Chili garlic sauce is the standard heat element here, but gochujang works beautifully if you want a deeper, slightly fermented heat. Start with half the amount since gochujang is more concentrated. Taste and adjust as you go.
And if you want to add a side: a quick cucumber salad (sliced cucumbers, rice vinegar, a pinch of sugar, sesame seeds) takes about 5 minutes to pull together and can be made up to three days ahead. It cuts through the richness of the sauce perfectly. Edamame or shaved carrots work well too if you want something even simpler.
Common Questions and Troubleshooting
The evidence here is mixed on whether you need to rinse jasmine rice before cooking. I’ve tested both. Rinsing removes excess surface starch and gives you slightly more separate grains. Not rinsing gives you slightly stickier rice that holds together well in a bowl. For this recipe, I’d actually skip the rinse. Stickier rice catches the sauce better.
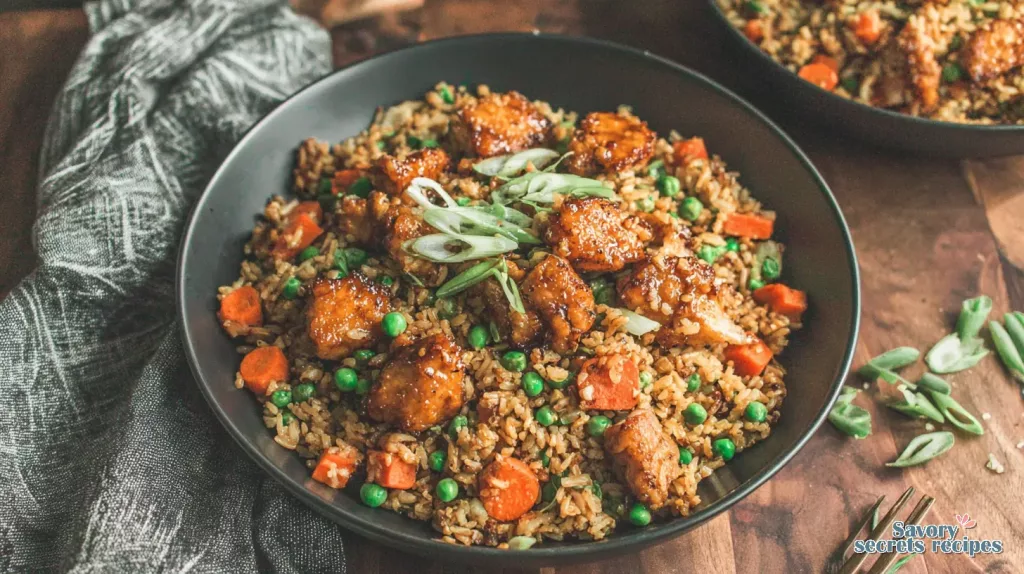
On the question of whether you can use leftover cooked rice: yes, absolutely. In fact, this is one of the better uses for day-old rice. Saute any vegetables you’re adding first, then stir in the cold rice and let it heat through before adding the sauce. The slightly dried-out texture of leftover rice actually holds up better than freshly cooked rice in this application. That tracks with what I’ve seen in fried rice cooking as well.
Storing and Reheating Leftovers Without Drying Everything Out
Store the chicken mixture and the rice separately if you can. The chicken keeps well in an airtight container in the refrigerator for 3 to 4 days. Rice is best within 1 to 2 days, though it’ll last up to 4 days if stored properly. Keeping them separate means the rice doesn’t absorb all the sauce overnight and turn into one dense block.
For freezing: the chicken mixture freezes well for up to one month. Portion it into freezer-safe containers before freezing so you can pull out exactly what you need. Thaw overnight in the refrigerator before reheating.
Reheating on the stovetop: This is the best method. Add the chicken to a small skillet over medium heat with a splash of water or chicken broth, about 2 tablespoons. Cover and heat for 3 to 4 minutes, stirring once. The added liquid prevents the sauce from seizing up and keeps the chicken moist.
Reheating in the microwave: Place the chicken in a microwave-safe bowl, add a tablespoon of water, and cover loosely with a damp paper towel. Heat in 60-second intervals, stirring between each. Usually takes 2 to 3 minutes total. The damp paper towel is the key detail here. It creates a little steam environment that keeps everything from drying out.
Reheating rice: Same approach. A splash of water, covered, microwave in 60-second bursts. Fluff with a fork between intervals.
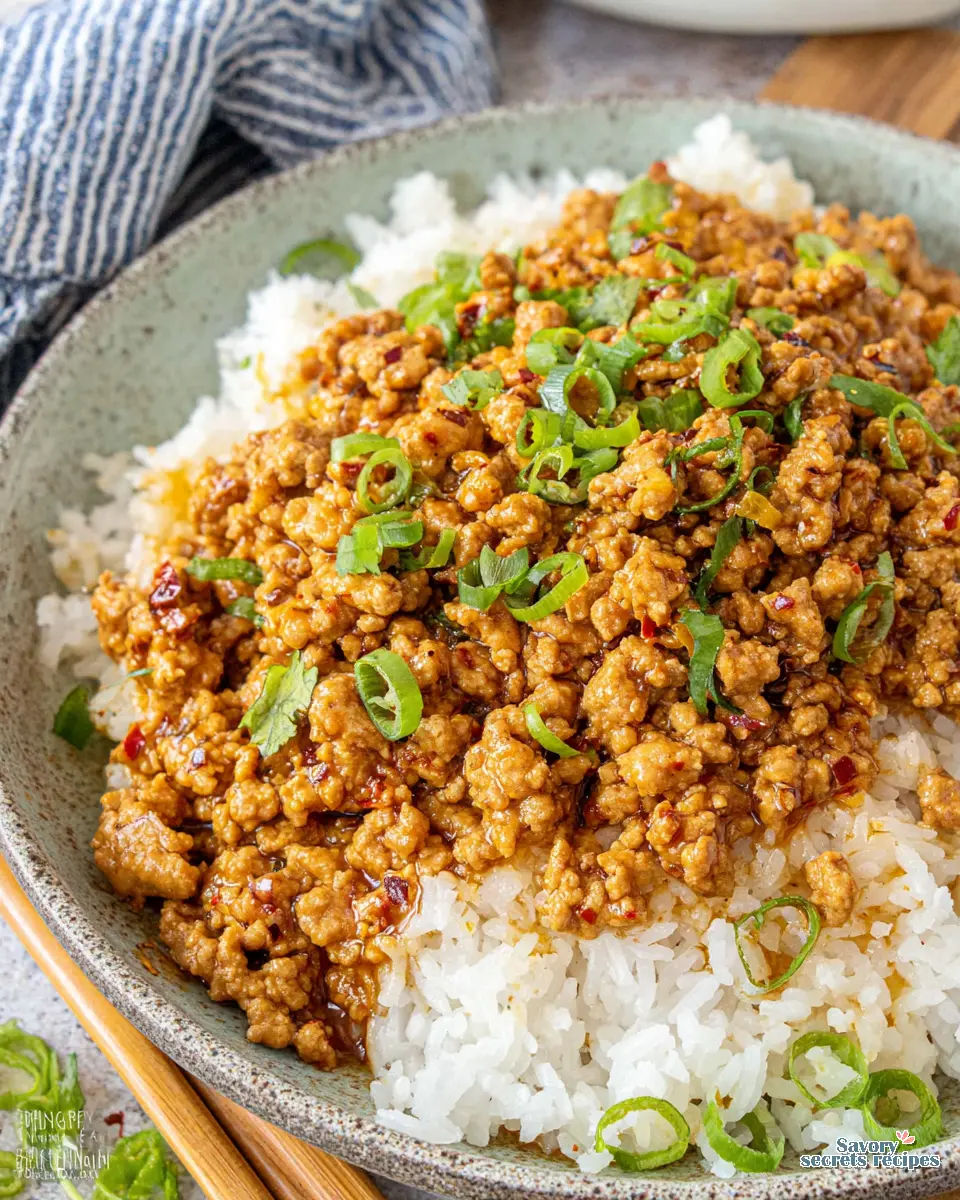
Serving Ideas That Make This Feel Like a Real Meal
The classic is simple: rice in the bowl, chicken and sauce on top, sesame seeds and green onions scattered over everything. That’s genuinely all you need for a complete dinner that looks intentional and tastes like you put in more effort than you did.
If you want to stretch it further, a fried egg on top adds protein and makes the yolk run into the sauce in a way that’s deeply satisfying. A side of steamed edamame from the freezer section at Trader Joe’s takes about 4 minutes and rounds out the meal nutritionally without any real effort.
This recipe also works well for meal prep Sundays. Make a double batch of the chicken mixture, portion it into containers with rice, and you’ve got lunches or quick dinners sorted for the first half of the week. The sauce reheats beautifully, and honestly, the flavors deepen a little overnight. Fair enough trade for 10 extra minutes of cooking on Sunday.
Frequently Asked Questions
Why Choosing Ground Chicken Was the Smart Call
There’s a version of this article where I tell you ground chicken is “just as good” as chicken thighs. I’m not going to do that, because it’s not quite the right framing. Ground chicken is different. It’s leaner, it cooks faster, it takes on sauce flavor more completely because of all that surface area, and it costs significantly less. For a sticky honey garlic sauce application like this, it’s actually the better choice. Not the budget compromise. The right choice.
When you make this on a Wednesday night and your kid wanders into the kitchen asking what smells so good, you’ll have a new weeknight staple. When they ask if there’s more, you’ll already know the answer is yes, because you made a double batch. Once you’ve made it once, you’ll have it memorized. The sauce ratio, the heat level, the timing. It becomes yours.
I share a lot of variations and bowl ideas over on my Pinterest boards if you want to keep exploring. And if you make this easy honey garlic ground chicken and rice recipe and your family asks for seconds, drop a comment and tell me. Because mine always does.
Source: Nutritional Information
Is this honey garlic ground chicken and rice recipe spicy?
Not at all. The base recipe is mild and genuinely kid-friendly. The heat comes from chili garlic sauce, which is optional. If you want spice, add it gradually and taste as you go. Sriracha, chili crisp, or gochujang all work well as add-ins without changing the core recipe.
Do I need cornstarch to make the honey garlic sauce thick?
Yes, and it’s worth using. Cornstarch is what gives the sauce that glossy, sticky consistency that clings to the chicken instead of pooling at the bottom of the bowl. Dissolve it fully in the sauce before adding it to the pan. Without it, the sauce stays thin and watery no matter how long you simmer it.
Can I make this easy honey garlic ground chicken and rice recipe ahead of time?
Yes. The chicken mixture keeps in the refrigerator for 3 to 4 days and freezes for up to a month. Store it separately from the rice for best results. Reheat with a small splash of water to keep the sauce from drying out. It’s one of the better meal prep recipes I’ve tested for this reason.
What gives honey garlic chicken the best flavor?
The balance between the honey’s sweetness, the soy sauce’s saltiness, and the sharpness of fresh garlic. Sesame oil adds a nutty depth that ties everything together. The key is not adding the sauce too early. Let the raw smell cook off the garlic fully before the sauce reduces, and the flavor develops cleanly.
How do I know when ground chicken is fully cooked?
The internal temperature should reach 165°F (74°C). Visually, it’ll be fully white with no pink remaining, and the texture shifts from wet and sticky to slightly firm. The edges will start to look lightly golden if your pan is hot enough. That color is a good sign, not a problem.
What seasoning goes well with honey garlic chicken?
Ground ginger is the most complementary addition. It adds a subtle warmth that balances the sweetness of the honey. Sesame oil at the end of cooking adds nuttiness. If you want more depth, a few dashes of fish sauce in the sauce mixture adds umami without tasting fishy. Keep it simple and let the honey garlic do the work.