How to Make Crispy Shrimp with Cornstarch
Ingredients
Method
- Assemble all necessary ingredients.
- Combine flour, salt, and pepper in a medium bowl. Whisk eggs in a second medium bowl until frothy, and place bread crumbs in a third bowl.
- Dredge shrimp in the flour mixture and shake off any excess.
- Dip the shrimp into the beaten eggs.
- Press the shrimp into the bread crumbs, turning to coat both sides evenly.
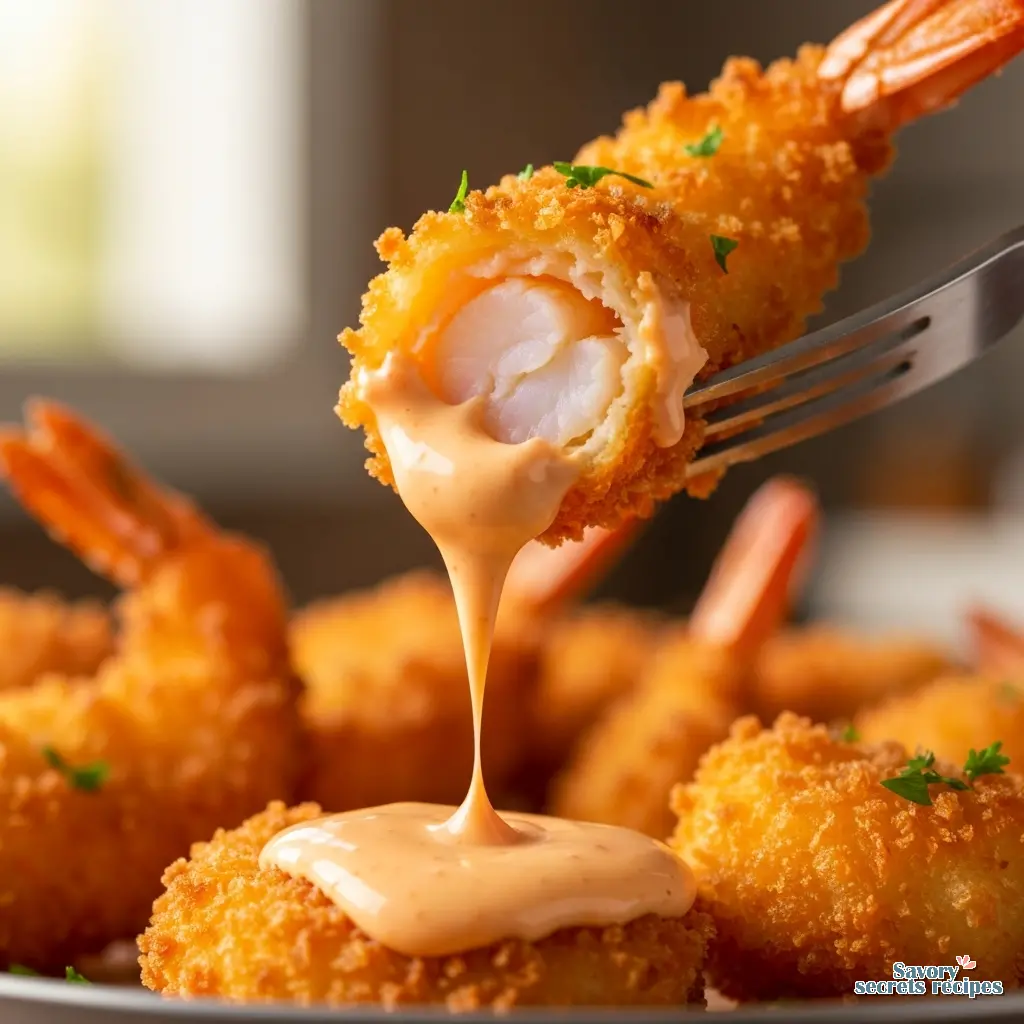
- Heat 2 inches of oil in a large, heavy pot to 350°F (175°C). Fry shrimp in batches for approximately 1 minute until cooked through. Use tongs to transfer the shrimp to a paper towel-lined plate to drain, and repeat the process for the remaining shrimp.
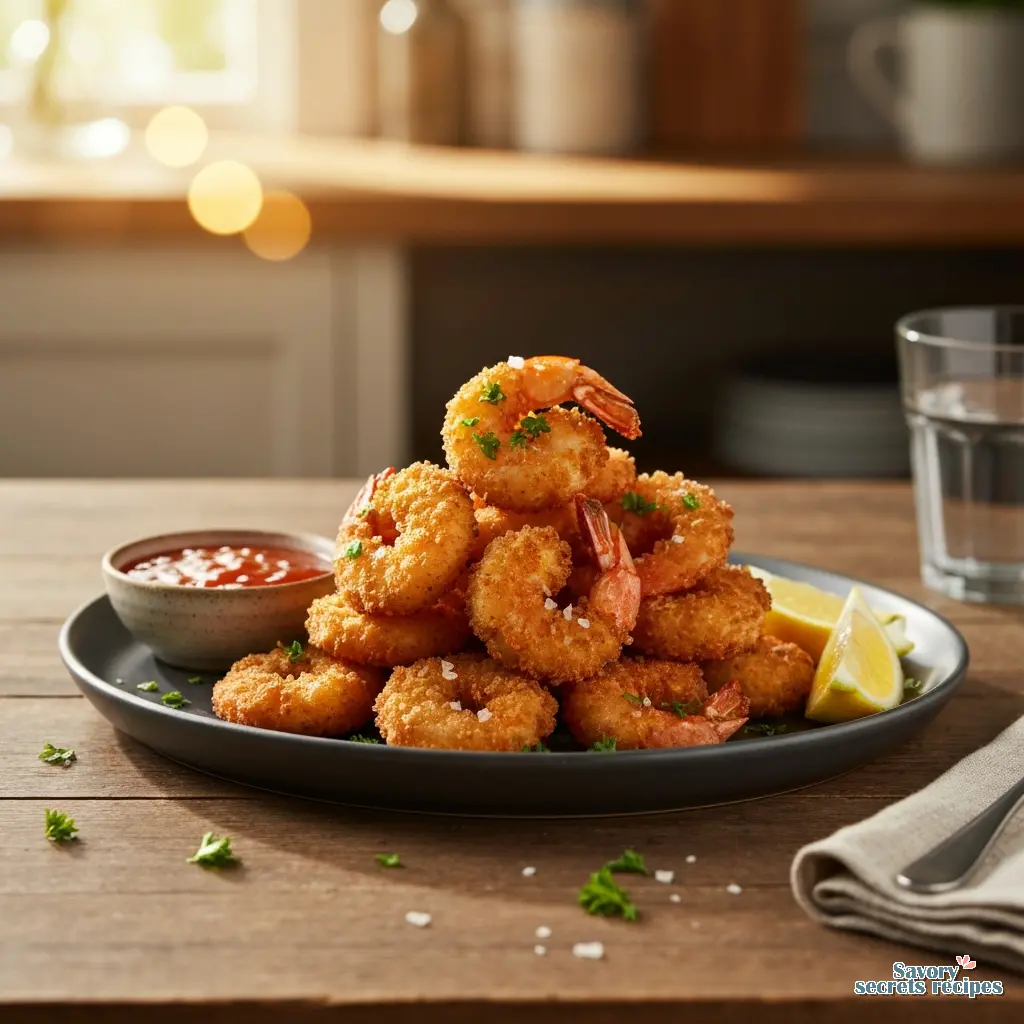
- Arrange the shrimp on a platter for serving.
Nutrition
Notes
The Sound of Success: Mastering the Crispy Shrimp Recipe
I still remember the first time I tried to make fried shrimp for a date. I was twenty, trying to impress a girl who loved seafood. I bought expensive colossal shrimp, dipped them in flour, threw them in a pan, and served… wet sponges. They were heavy. They were greasy. The breading slid off like a loose raincoat the moment you touched it. It was a disaster.
That memory stuck with me. Years later, working in kitchens, I realized my mistake wasn’t just the recipe. It was the physics. A truly excellent crispy shrimp recipe isn’t just about frying things in oil. It is about moisture management. It is about creating a barrier that shatters when you bite it but protects the delicate meat inside.
If you have been disappointed by homemade fried shrimp that turns soggy five minutes after cooking, I get it. We are going to fix that today. No more heavy batter. No more sliding breading. Just that audible, satisfying crunch that makes everyone at the table stop and look. With the Super Bowl around the corner and Valentine’s Day right after, this is the technique you need in your back pocket. This method is a sophisticated take on a southern fried shrimp recipe that focuses on maximum texture.
The “Secret” is in the Starch
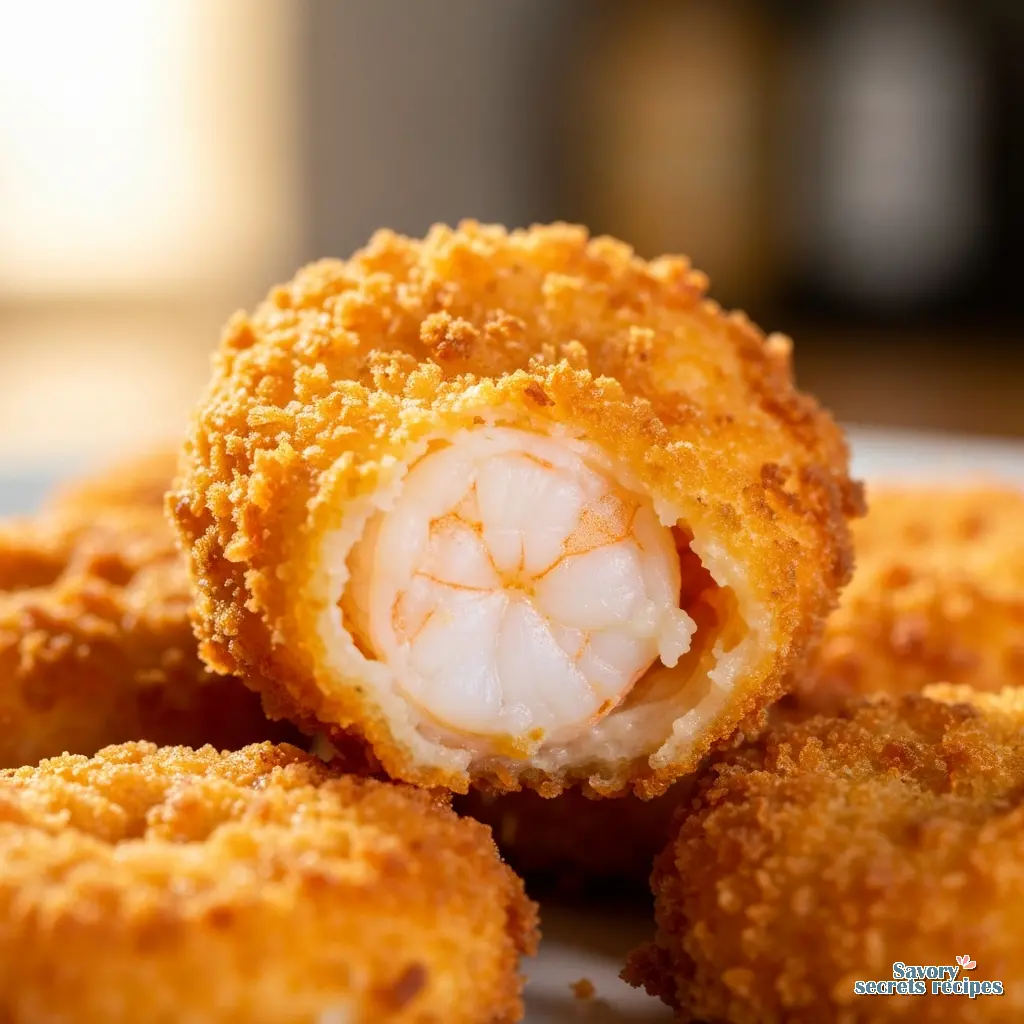
Let me walk that back for a second. Most people think flour is the key to frying. Flour is fine. But flour contains gluten, and gluten can get chewy. If we want a shatter-in-your-mouth texture, we need something else. We need cornstarch.
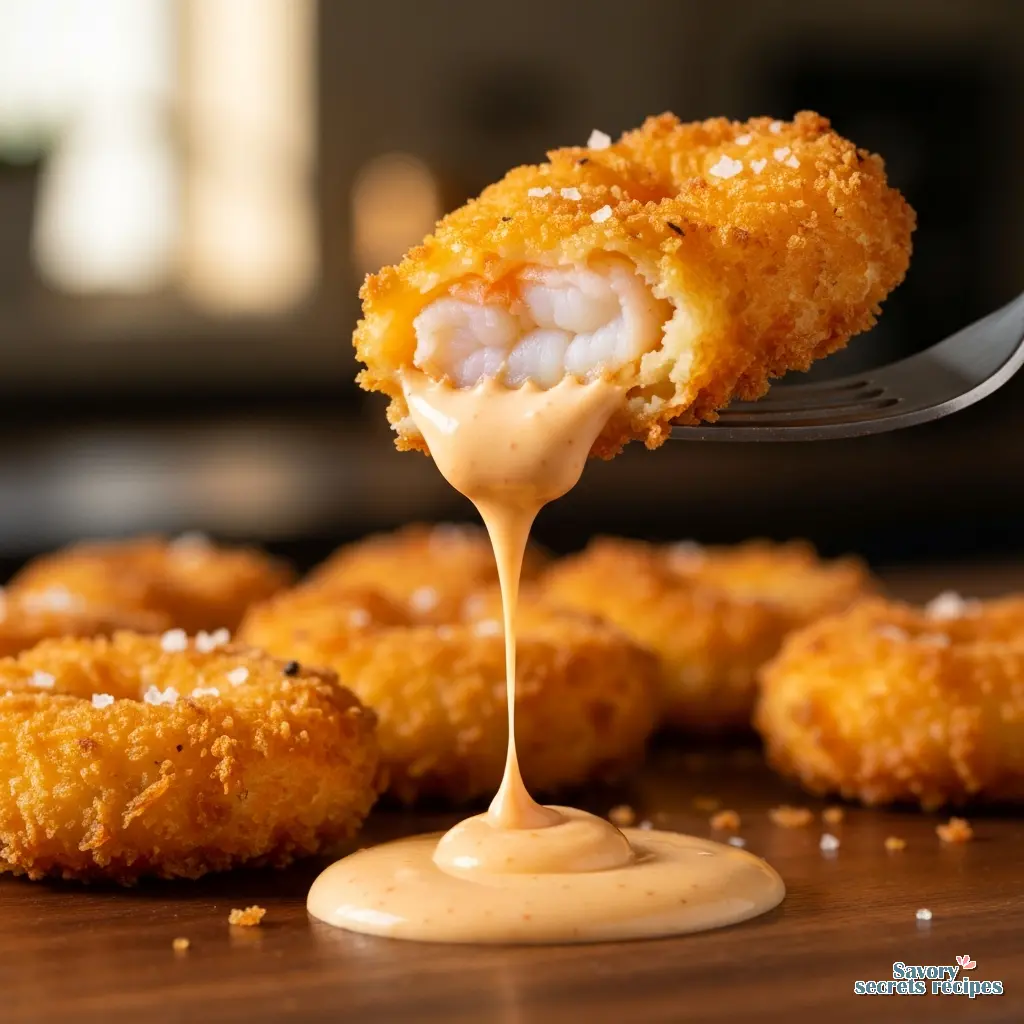
Here is what I am seeing in most home kitchens: people dredge in flour, then egg, then breadcrumbs. That tracks for chicken parmesan, but shrimp is different. Shrimp holds a lot of surface moisture. Cornstarch is finer than flour and absorbs that surface moisture instantly, creating a glue-like bond that prevents the breading from falling off.
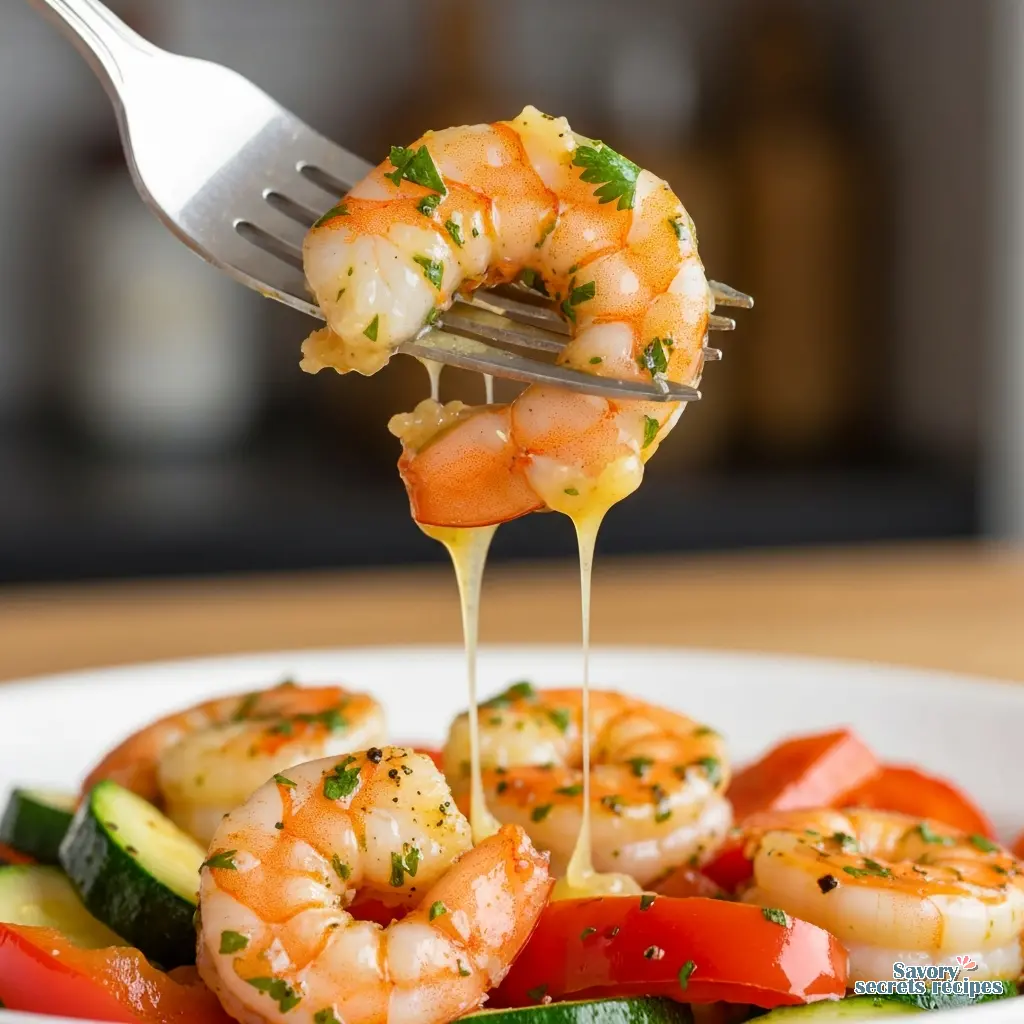
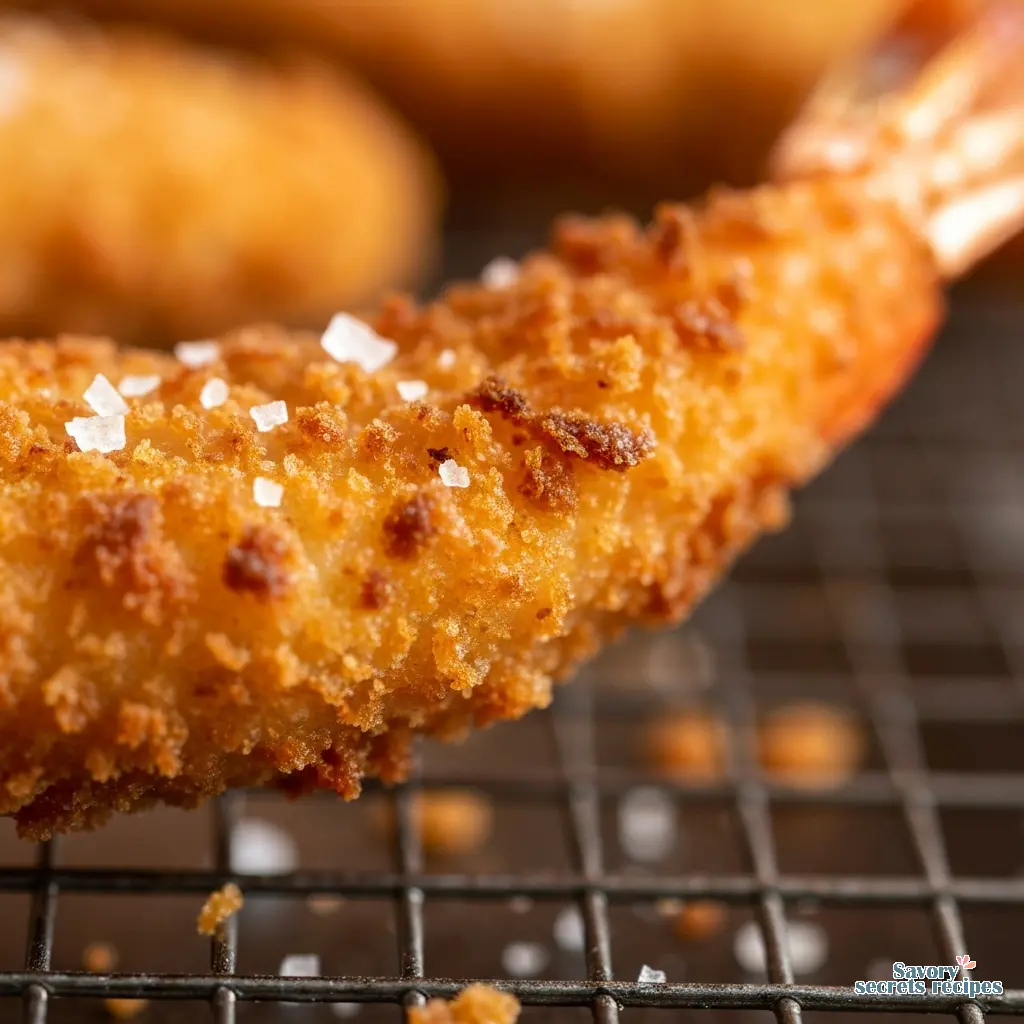
For this crispy shrimp recipe, we are using a specific ratio. I prefer a mix of cornstarch for the initial dredge and Panko breadcrumbs for the final coat. Panko is crucial here. Unlike traditional breadcrumbs, which are just ground-up stale bread, Panko is processed using electrical current to cook the bread without crusts, resulting in jagged, airy flakes. Those jagged edges mean more surface area. More surface area means more crunch. For those days when you want something less indulgent, a simple shrimp and veggies recipe is a perfect choice.
Step-by-Step: The Dry-Wet-Dry Method
I’m still working through the best way to explain this to my line cooks, but I call it the “Dry-Wet-Dry” assembly line. It is the only way to guarantee the coating sticks.
1. The Prep (The Most Important Step)
This is where 90% of people fail. You rinse your shrimp, peel them, and throw them in the flour. Stop. If the shrimp is wet, the flour turns to paste, not a coating. You need to pat those shrimp bone dry. I mean really dry. Use paper towels and press down gently. If you skip this, your breading will slide off. Trust me.
2. The Dredging Station
Set up three shallow bowls. In the first, your cornstarch mixed with garlic powder and smoked paprika. Season as you go, not at the end. In the second, beaten eggs. In the third, your Panko. Hold the shrimp by the tail. Dip in cornstarch (shake off the excess), dip in egg (let the excess drip off), then press into the Panko. Pressing is key. Don’t just roll it. Force the crumbs to adhere. This specific coating works beautifully for creating bite-sized shrimp hors d oeuvres for your next gathering.
The Science of the Crunch
My grandfather had a wind-up kitchen timer that ticked so loud you could hear it from the stoop. He taught me that timing is everything, but temperature is the law. When you drop food into oil, the moisture inside the food turns to steam. That steam pushes out, preventing the oil from rushing in. That is the sizzle you hear.
If your oil is too cold (under 325°F), the steam production is too slow. The oil wins. It seeps into the breading, and you get greasy shrimp. If the oil is too hot (over 400°F), the outside burns before the inside cooks. For a perfect crispy shrimp recipe, we need to maintain exactly 350°F to 375°F.
I use a candy thermometer. It costs ten bucks. It saves you from ruining twenty dollars worth of seafood. If you don’t have one, use the wooden spoon trick. Stick the handle of a wooden spoon into the oil. If bubbles form steadily around the wood, you are close. If it boils violently, it’s too hot. If nothing happens, give it another minute.
Oil & Equipment: Setting Up for Success
Let’s talk about oil. You need a neutral oil with a high smoke point. I prefer peanut oil because it adds a subtle depth and handles high heat beautifully. If allergies are an issue, canola oil or vegetable oil are fine substitutes. Do not use olive oil. It will burn and taste bitter.
You also need a wire cooling rack set over a baking sheet. Never drain fried foods on paper towels alone. I know, that sounds contradictory to what your mom might have done. But paper towels trap steam between the shrimp and the paper. Steam equals soggy. A wire rack lets the air circulate, keeping that bottom crust just as crisp as the top. Finding the right sides is easy when you have plenty of fried shrimp meal ideas to choose from.
Troubleshooting: Why Is My Breading Falling Off?
I get this question constantly. “Luca, I did everything right, but the crust stayed in the pan.” Here is what is happening.
Common Mistakes & Fixes
Mistake: The shrimp were wet.
Solution: Moisture creates a steam barrier that pushes the coating off. Pat them dry until the paper towel comes away clean.
Mistake: The oil was too cold.
Solution: If the oil isn’t hot enough to sear the crust immediately, it dissolves. Use a thermometer. 350°F is the target.
Mistake: You crowded the pan.
Solution: Adding too much cold shrimp drops the oil temperature instantly. Fry in small batches. Let the process do the work.
Storage & Reheating: Keeping the Crunch Alive
If you have leftovers (which, honestly, is rare in my house), you need to store them right. Let them cool completely on the rack before putting them in an airtight container in the fridge. They will stay good for 2 to 3 days.
Now, reheating. Do not put these in the microwave. The microwave works by vibrating water molecules, which effectively steams the food from the inside out. You will end up with rubbery shrimp and mushy breading. My sense is that an air fryer is your best friend here. Set it to 350°F for about 3 minutes. The circulating hot air revives the crust perfectly. If you don’t have an air fryer, use a wire rack on a baking sheet in a 350°F oven for 5 to 7 minutes.
Frequently Asked Questions
Final Thoughts
When you take that first bite and hear the crunch, you will know it was worth the effort. It is not just about following a recipe; it is about understanding the ingredients. The cornstarch, the temperature, the drying it all matters. Whether you are making this for a Super Bowl appetizer or a quiet dinner, this method delivers every time.
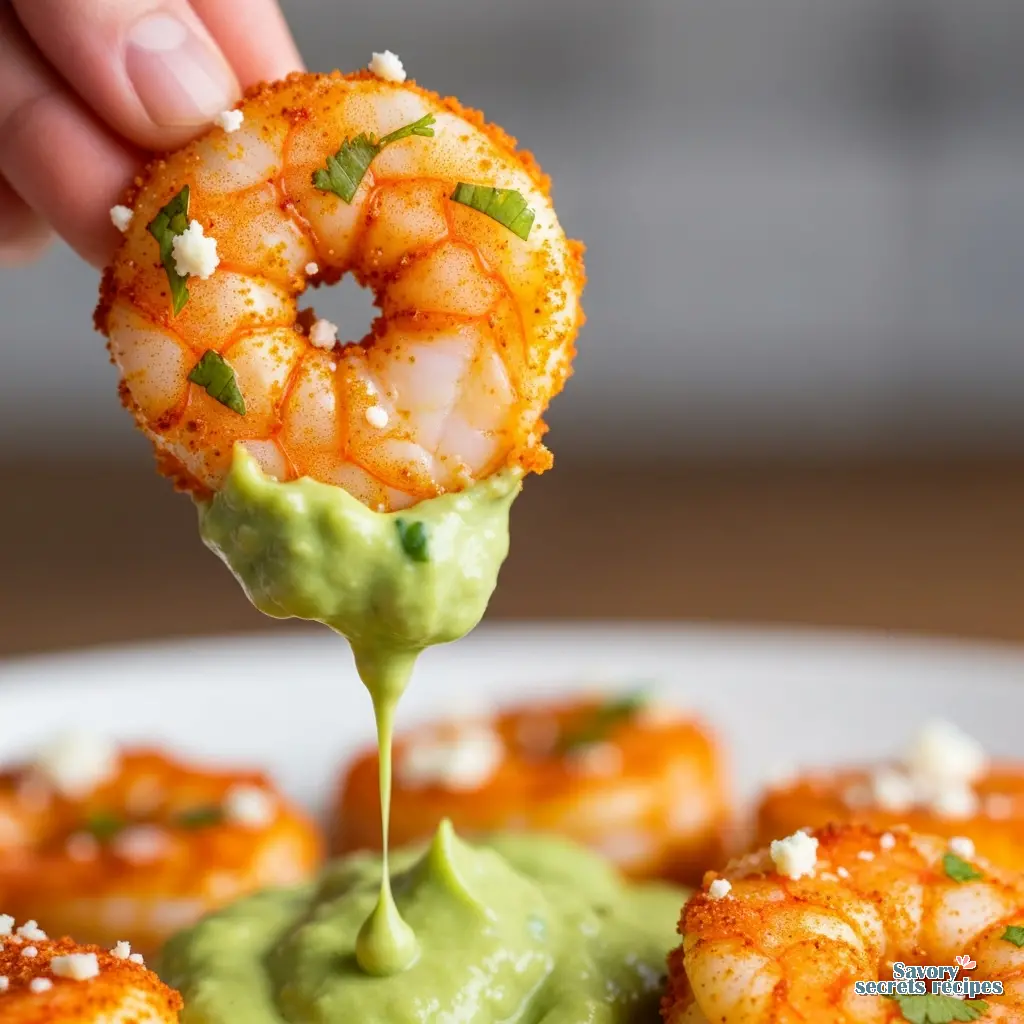
If you are looking for more ideas on how to serve these, check out my Pinterest boards where I have collected some great dipping sauce variations and side dish pairings. Give this a try, and let me know if you get that perfect sound.
Reference: Original Source