One-Pan Honey Garlic Chicken and Rice Bake
Ingredients
Method
- Preheat oven to 375°F.
- Season the chicken with salt, Jamaica Choice chicken seasoning, turmeric, oregano, garlic and honey. Add in half of the diced bell peppers and onion and let sit while you prep the rest of your ingredients.
- In a large oven-safe skillet or Dutch oven, heat olive oil over medium-high heat. Sear the chicken thighs for 3–4 minutes per side, scraping off most of the veggie mixture and setting it aside.
- In the same skillet, add butter, then sauté the veggies until softened and fragrant, about 2 minutes.
- Stir in the basmati rice and beans. Mix to coat everything in the flavor base.
- Pour in the chicken stock (or veggie broth with bouillon), scraping up any bits from the bottom of the pan.
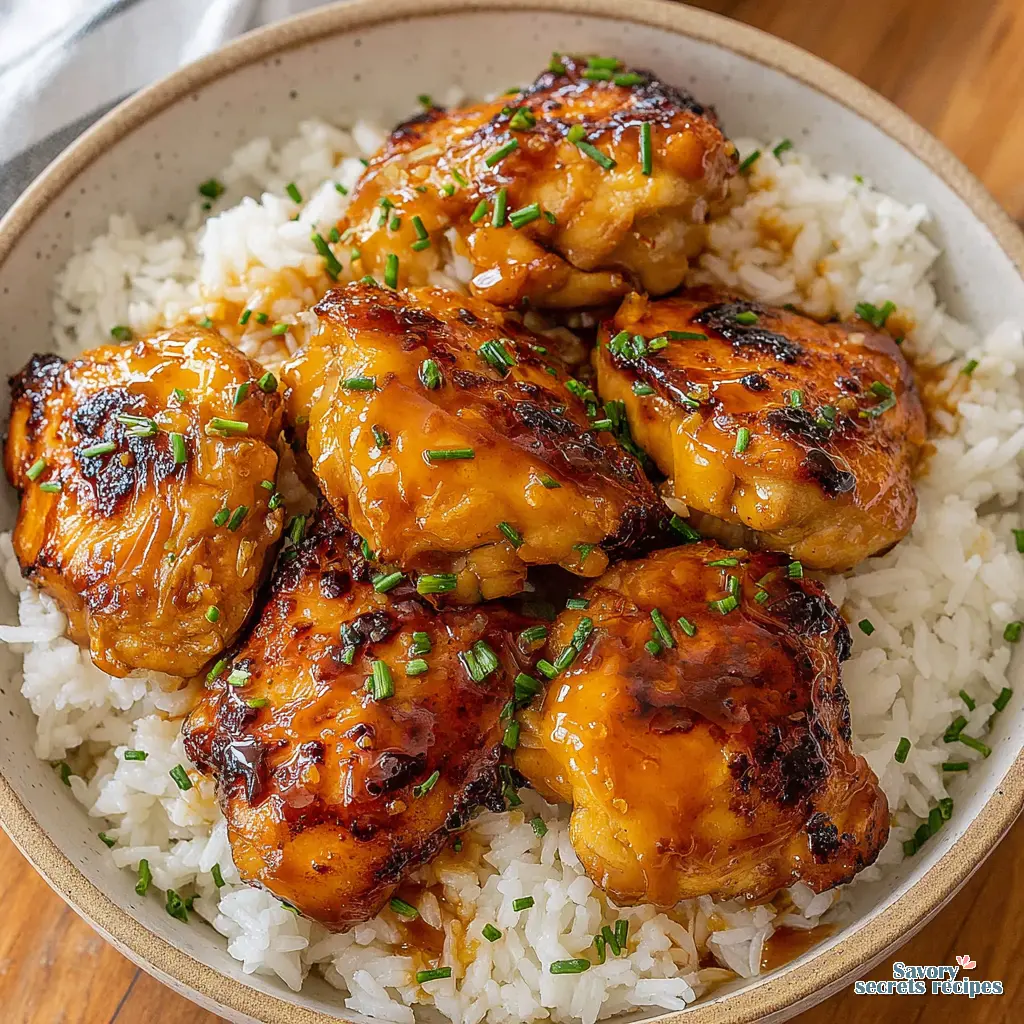
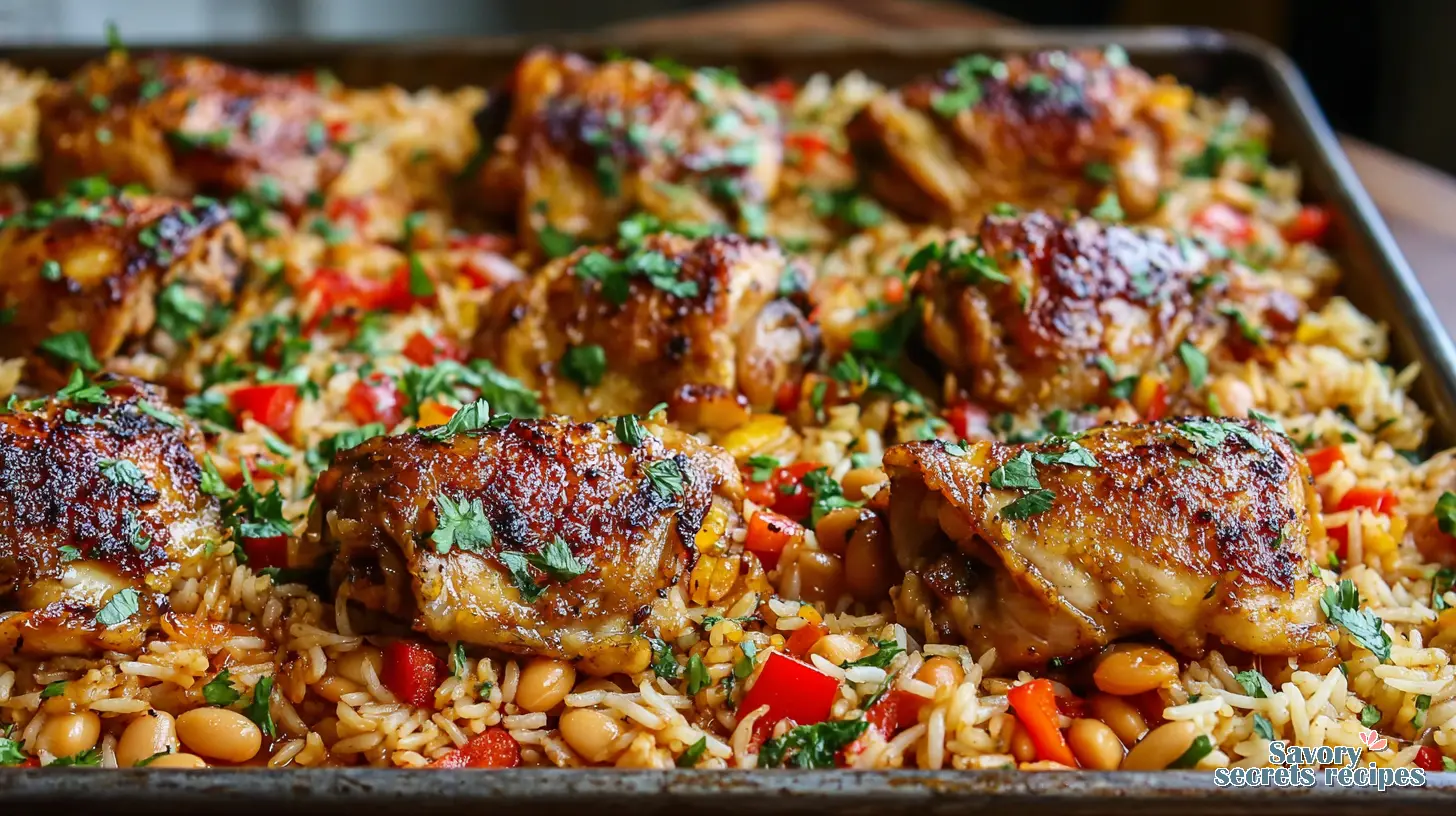
- Nestle the seared chicken thighs on top of the rice mixture.
- Cover tightly with foil and bake for 30 minutes, or until the rice is fluffy and the chicken is fully cooked through.
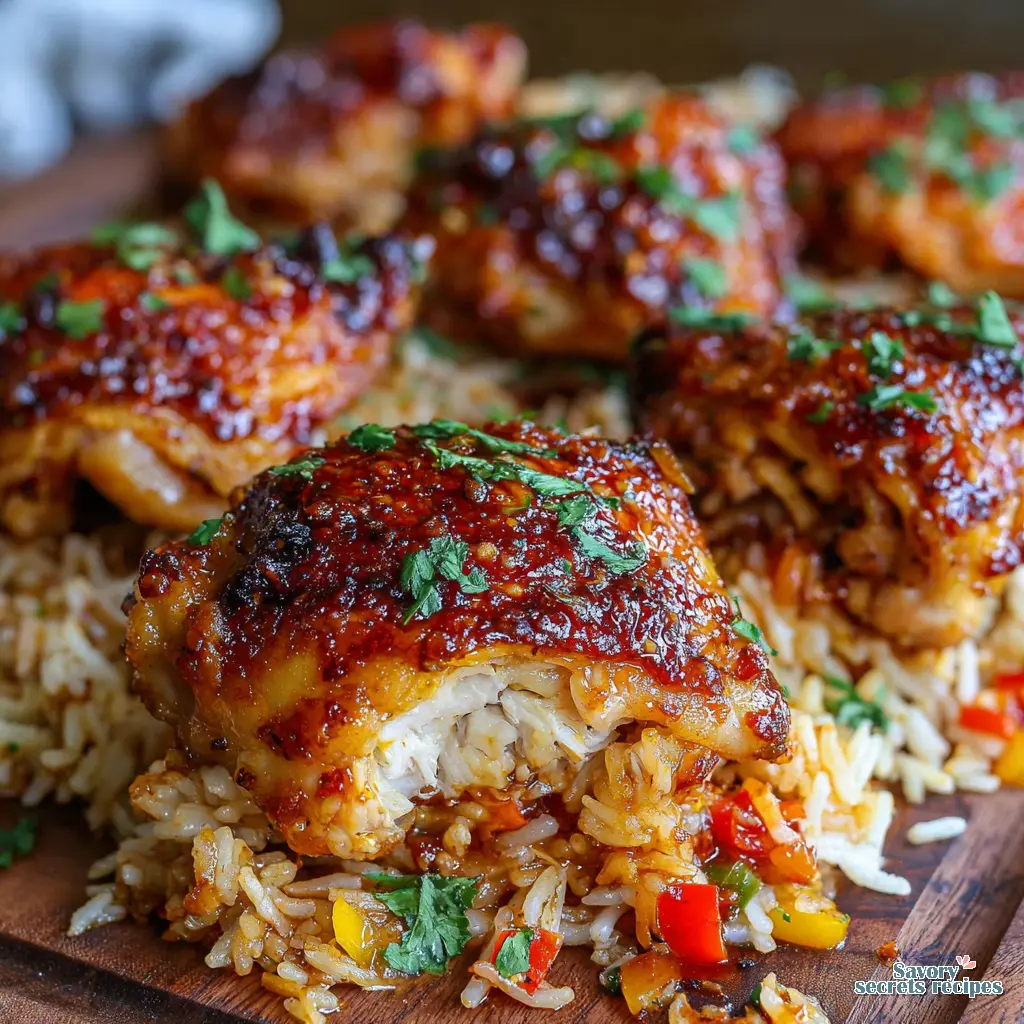
- Remove from the oven, fluff the rice with a fork, and garnish with fresh herbs and a drizzle of honey if desired. Serve hot and enjoy.
Notes
Why Make a Honey Garlic Chicken Rice Bake?
I was scrambling for dinner after soccer practice, the kids were yelling, the clock was ticking, and I thought, “One‑pan miracle, please.” That night I pulled out a sheet pan, tossed chicken thighs, rice, and a quick honey garlic sauce, and the oven did the rest. The glaze turned a caramel‑rich amber that smelled like summer apricots from my grandma’s Pasadena tree. Honey garlic chicken rice bake became the go‑to rescue for hectic weeknights. Let me see it: a glossy, kid‑friendly dinner that looks like it belongs on a food‑mag spread, yet it’s as simple as a grocery‑store run to Ralphs. Good light today in the kitchen, the oven humming at 400°F, and I felt that instant relief that only a minimal‑cleanup recipe can give.
That first bite had the sweet‑garlic kick I love, the rice stayed fluffy, and the chicken stayed tender. I’m not totally sure, but the secret is in the sauce and the way the pan is covered halfway through baking. Not quite there yet? Just follow the steps, and you’ll see why this honey garlic chicken rice bake is a weeknight winner.
Ingredients & Equipment Needed
We keep the pantry list under ten items. You’ll need bone‑in chicken thighs (or breasts if you prefer), long grain rice, chicken broth, honey, soy sauce, brown sugar, garlic powder, olive oil, a splash of cornstarch, and fresh parsley for garnish. A rimmed sheet pan, a small bowl for the glaze, and a spoon are all the tools you’ll reach for. I always add a splash of soy sauce for depth, and that’s exactly it simple, flavorful, and budget‑friendly.
Step‑by‑Step Baking Instructions
First, line the sheet pan with foil clean read, right? Drizzle olive oil, then spread the rice in an even layer. Pour the hot chicken broth over the rice, sprinkle a pinch of garlic powder, and give it a quick stir. Place the chicken thighs skin side up, making sure they’re not touching this prevents overcrowding and gives each piece a perfect sear.
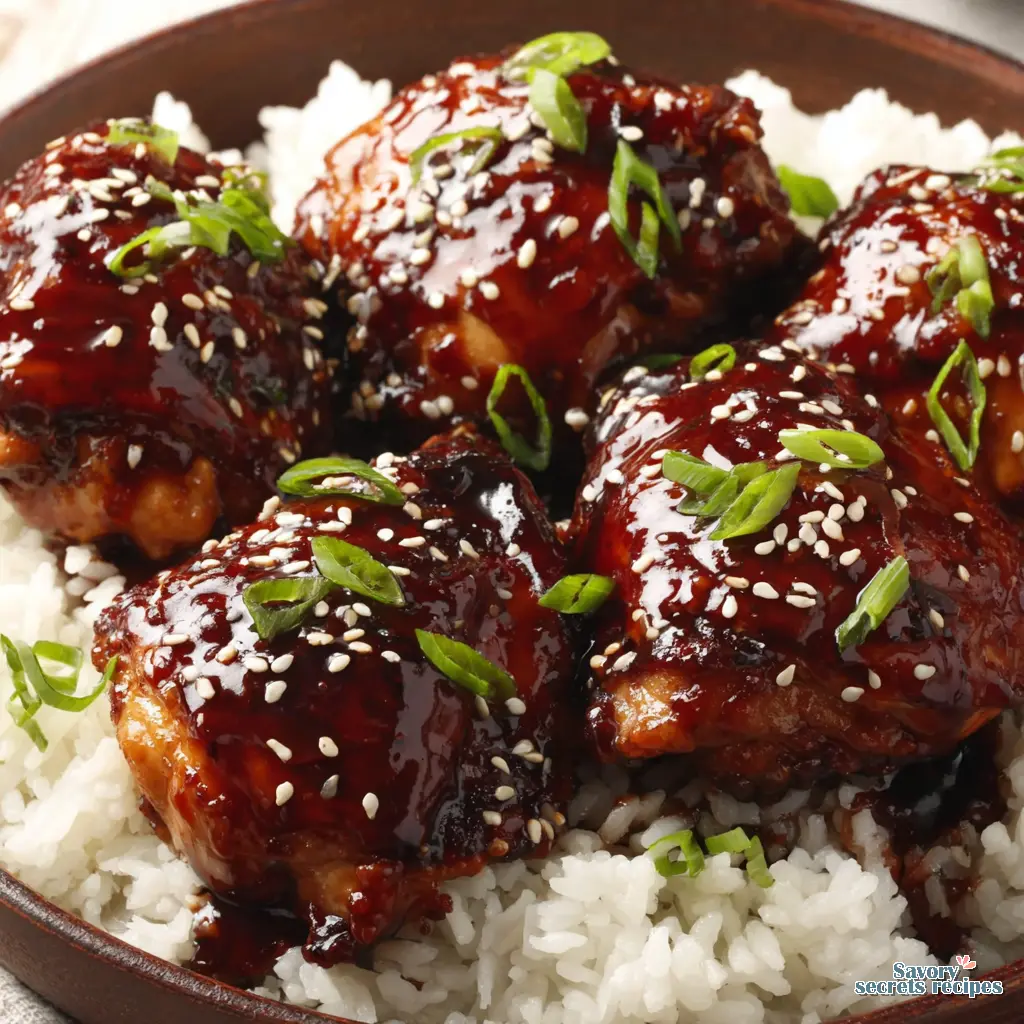
Now for the glaze: whisk honey, soy sauce, brown sugar, a dash of water, and a teaspoon of cornstarch. It looks thin at first; that’s fine. I let it sit for a minute while the oven preheats to 400°F. Once hot, pour the glaze over the chicken, making sure every piece gets a glossy coat. Slide the pan into the oven, bake uncovered for 15 minutes, then cover loosely with foil for another 15‑20 minutes. The rice will steam gently, staying fluffy, while the chicken finishes cooking.
When the timer dings, pull the pan out, sprinkle fresh parsley, and let the glaze thicken as it cools Love that texture. Don’t worry, you’ve got this! The whole thing takes about 30‑35 minutes, and the cleanup is just one pan and a spoon.
Tips for a Perfect Honey Garlic Bake
Cook in batches; avoid overcrowding the pan to ensure a proper sear. That’s the one tip that saves the whole dish. Do not skip the cornstarch step; it creates a crisp coating and helps the sauce cling Build in layers of flavor, and the glaze will turn glossy without burning.
If you like heat, toss in a pinch of red‑pepper flakes or a drizzle of sriracha. Needs more acid? A splash of rice vinegar balances the sweetness. Let it sit for a minute after whisking; the thickening tip works like magic because the starch hydrates. Too muddy on the surface? Pull back a bit, give the pan a quick shake, and the sauce will spread evenly. For a faster alternative, try the honey garlic chicken rice in air fryer recipe.
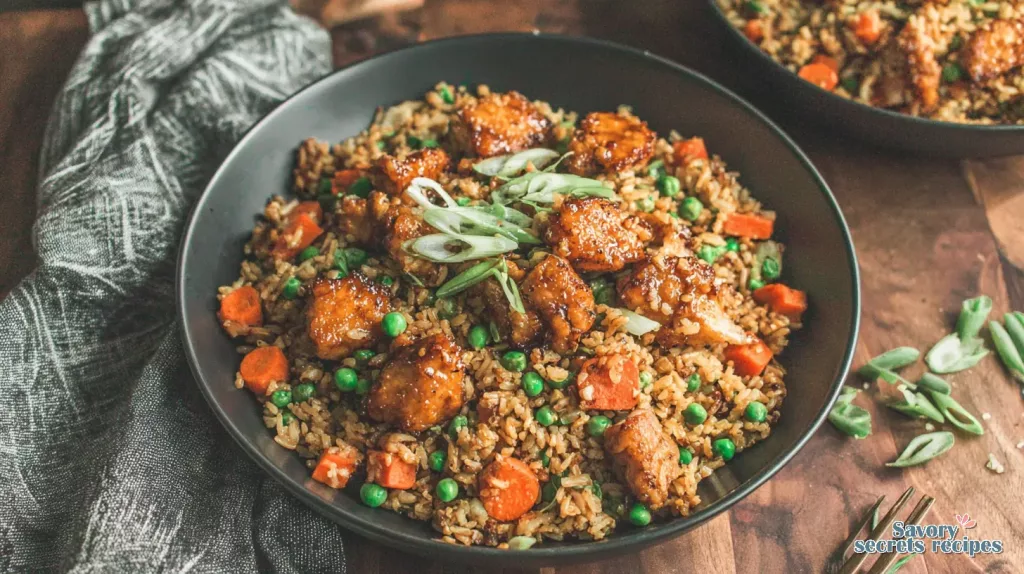
For extra veggies, add asparagus spears or peas in the last ten minutes those spring options keep the color bright and the crunch intact. I always check the rice with a fork; if it looks a little wet, uncover the pan for the final five minutes to let excess moisture evaporate. Perfect contrast between the caramelized edges and the fluffy interior.
Variations & Serving Suggestions
Swap chicken thighs for boneless, skinless breasts if you want a leaner version. The glaze sticks better with a quick dust of cornstarch, so don’t skip that. For a gluten‑free twist, use tamari instead of soy sauce and a gluten‑free chicken stock. Add a handful of sliced mushrooms for an earthy note, or toss in broccoli florets for a classic honey garlic chicken and broccoli combo.
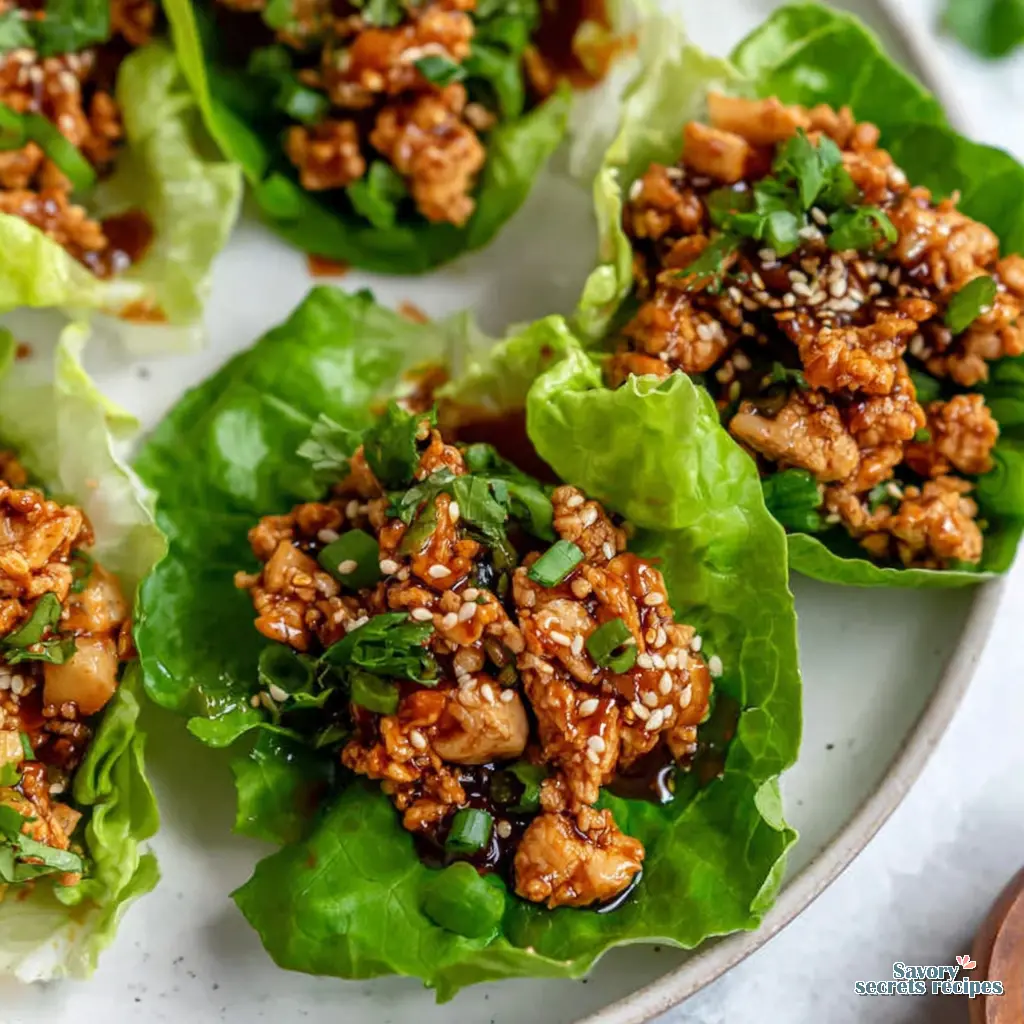
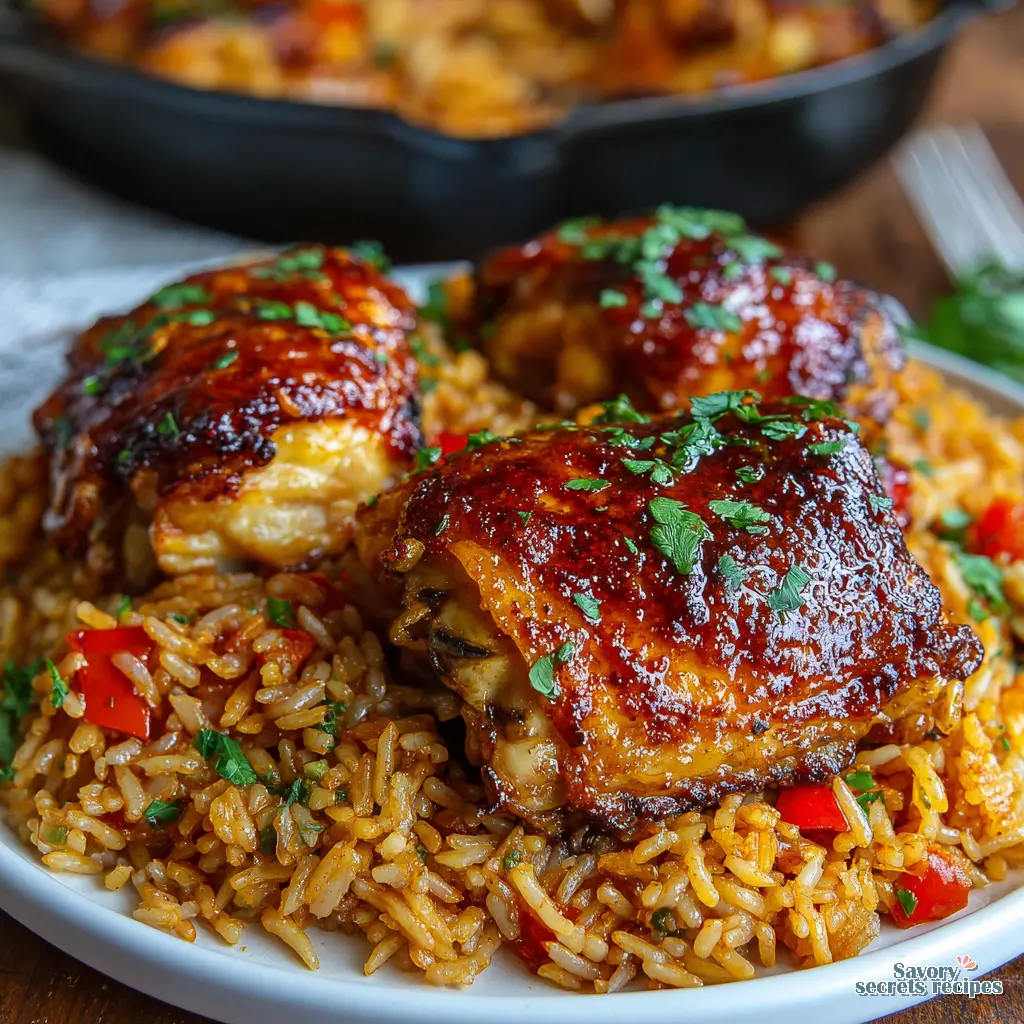
Serve the bake over a bed of extra rice, or let the pan become the plate for a rustic look. A side of crisp green salad with lemon vinaigrette brightens the meal. Kids love the sweet glaze, and the bright parsley garnish makes it look like a photo shoot That’s exactly it, a plate that’s ready for Instagram.
Recipe Science
The Maillard reaction on the chicken skin creates that deep, nutty flavor you hear sizzle about. Cornstarch gelatinizes when heated, forming a thin film that traps moisture and lets the honey garlic sauce cling. The steam trapped under the foil cooks the rice evenly, preventing soggy rice a common pitfall when you bake uncovered the whole time.
Brown sugar provides the caramel base, while the acidity from soy sauce cuts the sweetness, balancing the flavor profile. The thin initial glaze thickens as it cools because the sugars crystallize, giving you that glossy finish without a separate reduction step.
Visual Troubleshooting Guide
Here’s what most people don’t notice: if the glaze looks watery after the first 15 minutes, it means the pan wasn’t hot enough raise the oven a few degrees. If the rice sticks to the pan, you probably didn’t add enough broth; the ratio should be 1 cup rice to 1¾ cups broth. When the chicken skin isn’t crisp, it’s a sign of too much moisture dry the thighs with paper towels before searing.
Remember, the sauce will thicken as it cools. If you’re impatient, give it a quick stir on the stovetop for a minute; that’s the one trick to get that glossy finish faster.
Detailed Make‑Ahead & Meal‑Prep Strategy
Prep the glaze and rice the night before; store them in separate containers in the fridge. In the morning, pull out the chicken, pat it dry, and toss it with a little olive oil and cornstarch. Assemble the pan in under five minutes, bake, and you’ve got a ready‑to‑serve dinner. For leftovers, separate the chicken, rice, and veggies into airtight containers your mileage may vary, but this keeps textures from getting mushy.
If you’re meal‑prepping for the week, double the recipe, freeze the baked portions in individual servings, and reheat in the oven at 350°F for 12‑15 minutes, covered with foil. Add a splash of broth when reheating to keep the rice from drying out.
Comprehensive Nutritional Analysis
Each serving (about one‑quarter of the pan) delivers roughly 420 calories, 22 g protein, 45 g carbohydrates, and 12 g fat. The honey provides natural sugars, while the chicken offers lean protein. Using brown sugar instead of white adds a touch of molasses flavor and a few extra minerals. Swap brown sugar for a low‑calorie sweetener if you’re watching calories, but the glaze won’t be as thick.
Ingredient Sourcing & Brand Comparison
For honey, I reach for local California raw honey; it’s less processed and adds a floral note that pairs with the garlic. In the pantry, Trader Joe’s organic soy sauce is affordable and has a clean taste, but if you want a richer umami, Kikkoman’s dark soy works wonders. Choose a brand of long grain rice that’s labeled “parboiled” for the best fluffiness. If you prefer a stickier glaze, check out the easy sticky honey garlic chicken and rice bake recipe.
Storage and Leftover Ideas
Refrigerate the bake in an airtight container for 3‑5 days. When reheating, add a splash of chicken broth or water, cover with foil, and warm in a 350°F oven for 12‑15 minutes. The glaze will re‑gloss as it heats. If you’re short on time, microwave a portion with a teaspoon of water, stir, and enjoy. Leftover chicken can be shredded and tossed into salads or tacos for a quick lunch. Too many leftovers? Freeze individual portions; they keep well for up to two months.
Frequently Asked Questions
Troubleshooting Common Issues
Common Mistakes & Fixes
❌ Overcrowding the pan
✅ Solution: Space the chicken pieces apart; use two pans if needed. This lets the skin crisp instead of steam.
❌ Skipping the cornstarch coating
✅ Solution: Dust the chicken lightly before searing. It creates a crisp crust and helps the sauce cling.
❌ Rice too wet
✅ Solution: Uncover the pan for the last five minutes; the excess moisture will evaporate.
❌ Glaze too thin
✅ Solution: Simmer a minute longer or add a pinch more cornstarch mixed with cold water.
Conclusion
When you make this honey garlic chicken rice bake, the kitchen will fill with a sweet‑garlic aroma that makes kids smile the moment they see the caramelized edges. You’ll feel proud, because you turned a hectic evening into a picture‑perfect dinner with barely any mess. Let me see it on your table, share a photo, and tell me how your family loved it! Your weeknight just got a tasty upgrade.
For more inspiration, check out my Pinterest boards where I pin variations and plating ideas.
Source: Nutritional Information
Can you use rotisserie chicken?
Yes, you can. Shred the rotisserie meat, toss it with a little extra glaze, and spread it over the rice. It won’t need the full baking time just 10 minutes at 400°F to heat through. Don’t worry, you’ve got this!
Can I use chicken breasts instead of thighs?
Absolutely. Cut the breasts in half for even cooking, sear 3‑4 minutes per side, then bake covered for 20‑25 minutes at 400°F. Because breasts are leaner, add a little extra butter to the glaze so it stays moist. Trust me on this.
Can I make it ahead of time?
You can assemble the pan up to 24 hours ahead. Keep the glaze separate, then pour it on just before baking. The rice will stay fluffy, and the chicken retains its flavor. This might not work for everyone, but it’s a solid time‑saver.
Can I replace the chicken thighs with chicken breast?
Yes, just follow the same steps but watch the bake time breasts cook faster. Cover them for the first 15 minutes, then finish uncovered for a crisp skin. If you’re worried about dryness, brush a little extra glaze halfway through.
Can I make this gluten free?
Sure thing. Swap soy sauce for tamari, and use a gluten‑free chicken broth. The cornstarch is naturally gluten‑free, so the glaze will still thicken perfectly. I always double‑check the label on the broth better safe than sorry.