Instant Pot Honey Garlic Chicken Thighs and Rice
Ingredients
Method
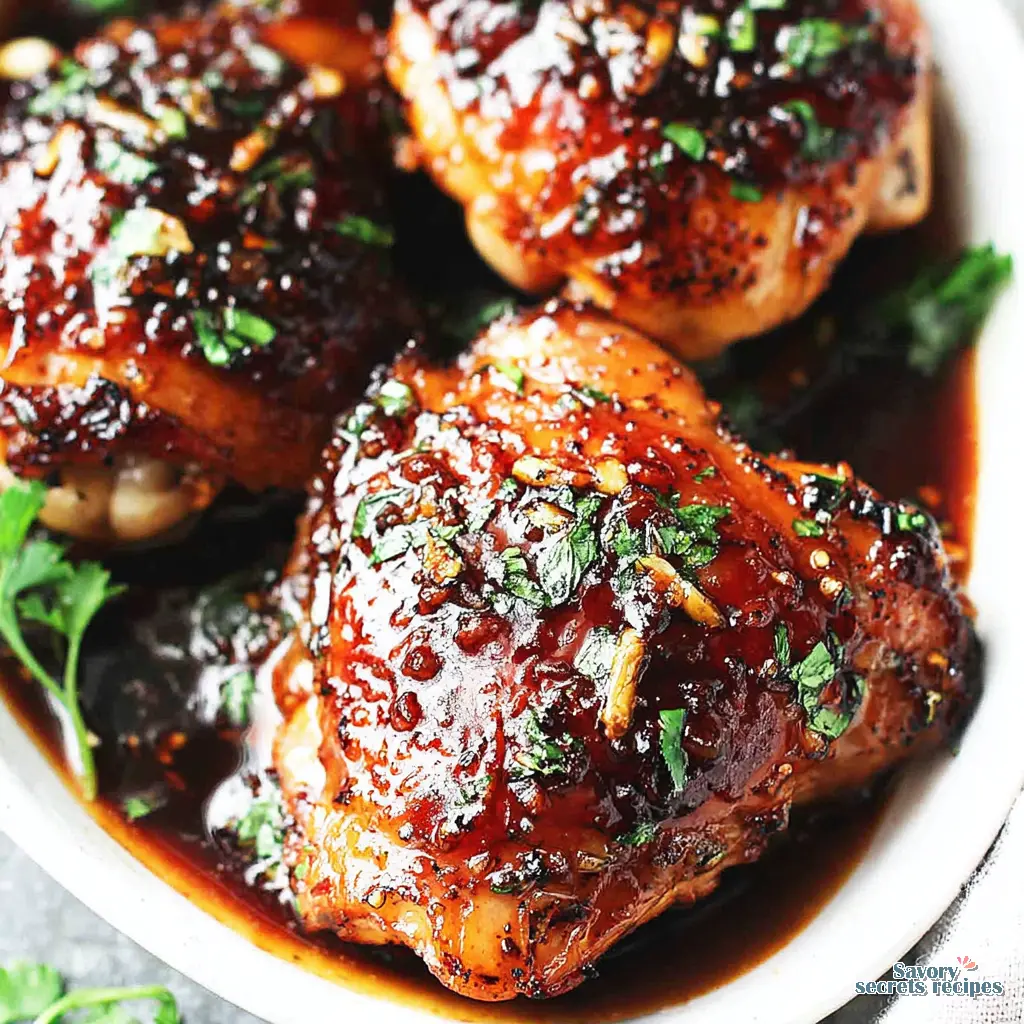
- Combine honey, minced garlic, soy sauce, ketchup, oregano, and parsley in a small mixing bowl. Mix until well combined, then set aside.
- Heat the Instant Pot in sauté mode. Add sesame oil to the pot. Season chicken thighs with salt and pepper. Cook chicken for 2 to 3 minutes per side, or until browned.
- Add the prepared honey garlic sauce to the pot. Cover and lock the lid.
- Set the Instant Pot to poultry mode (or pressure cook mode) and cook the chicken for 20 minutes. Turn off the pot and allow the pressure to release for about 5 minutes.
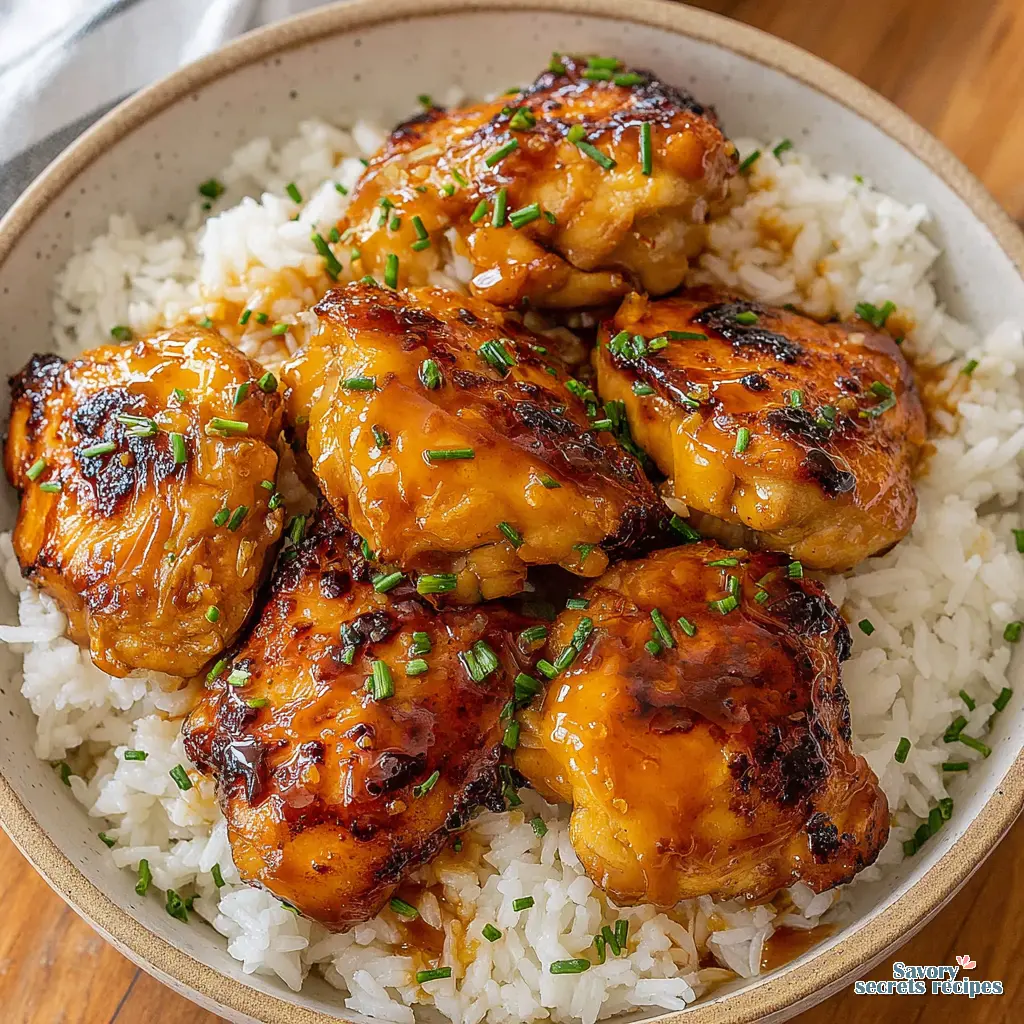
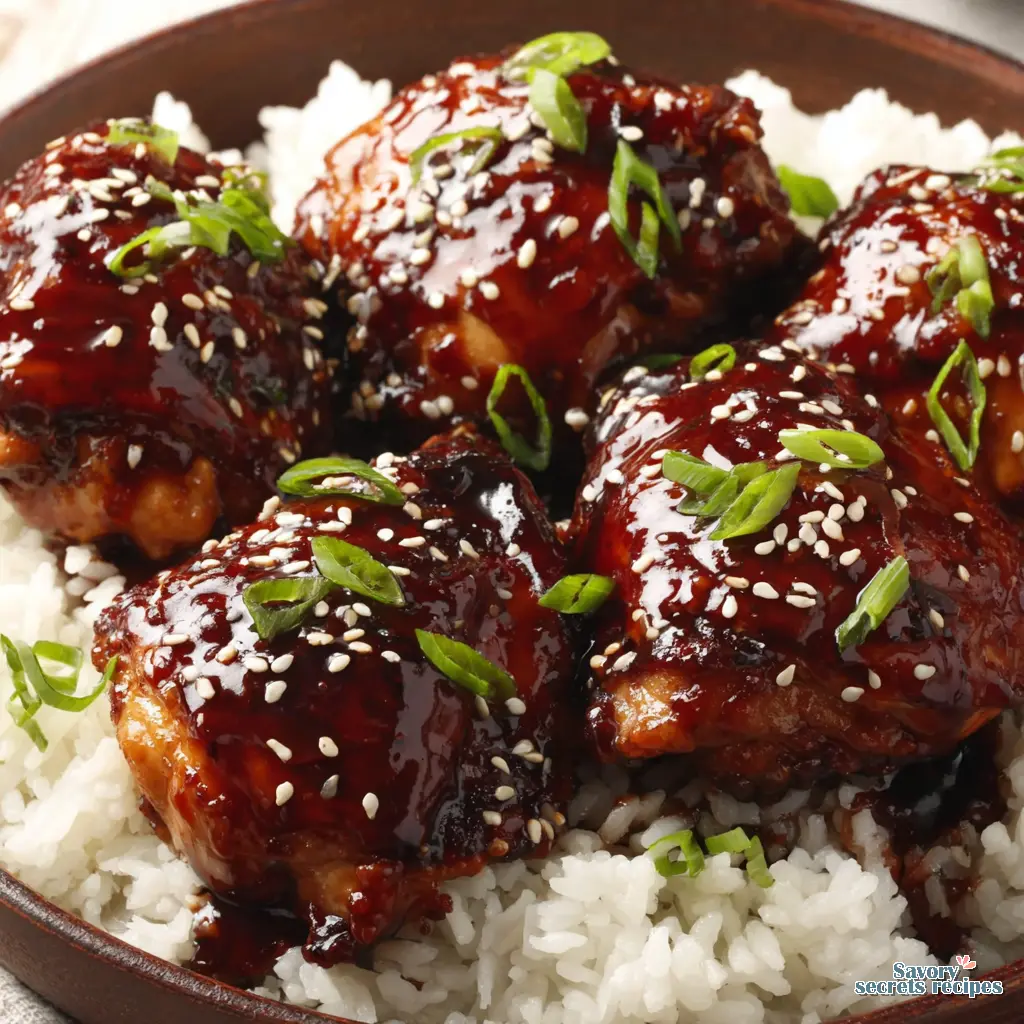
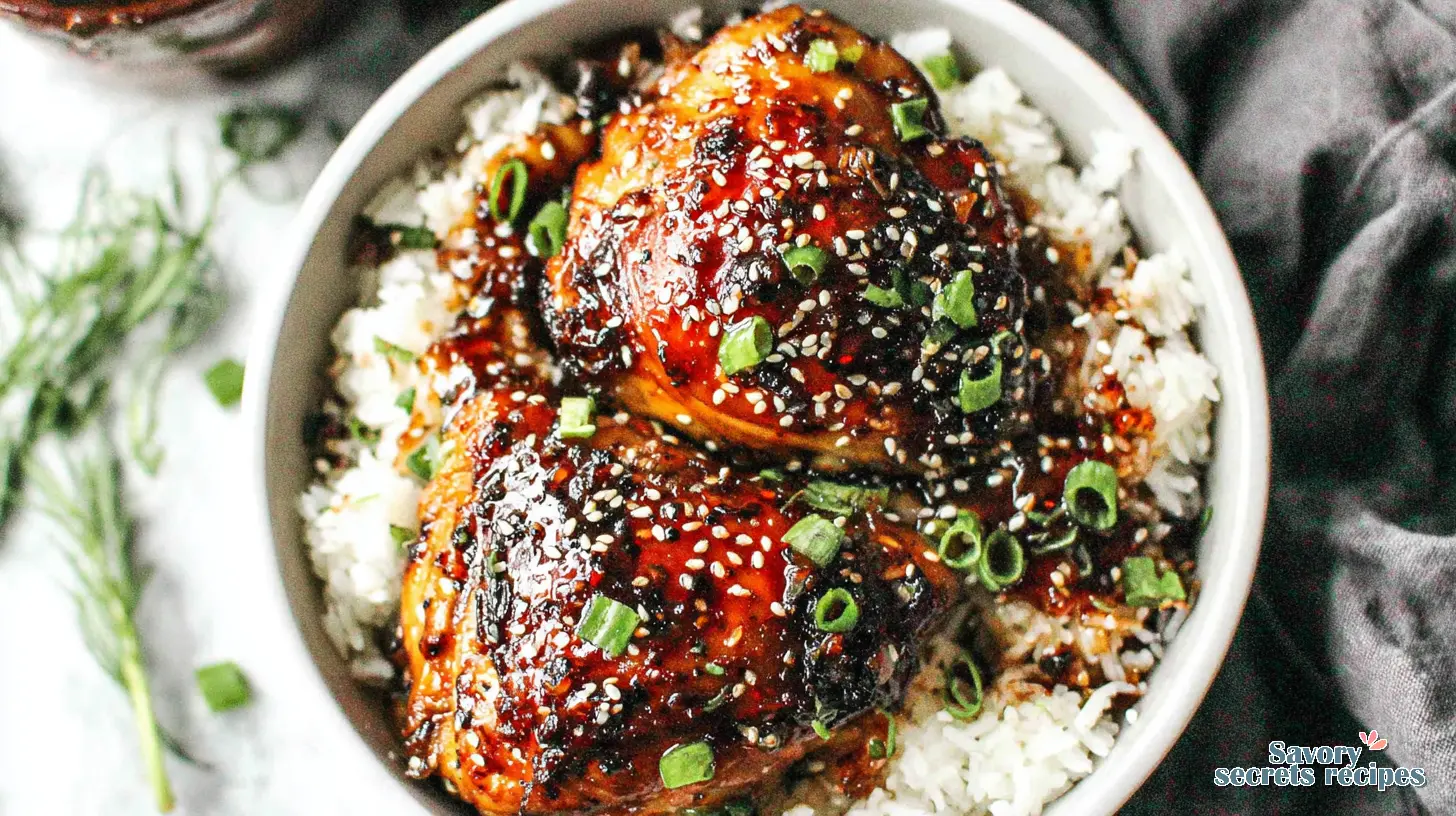
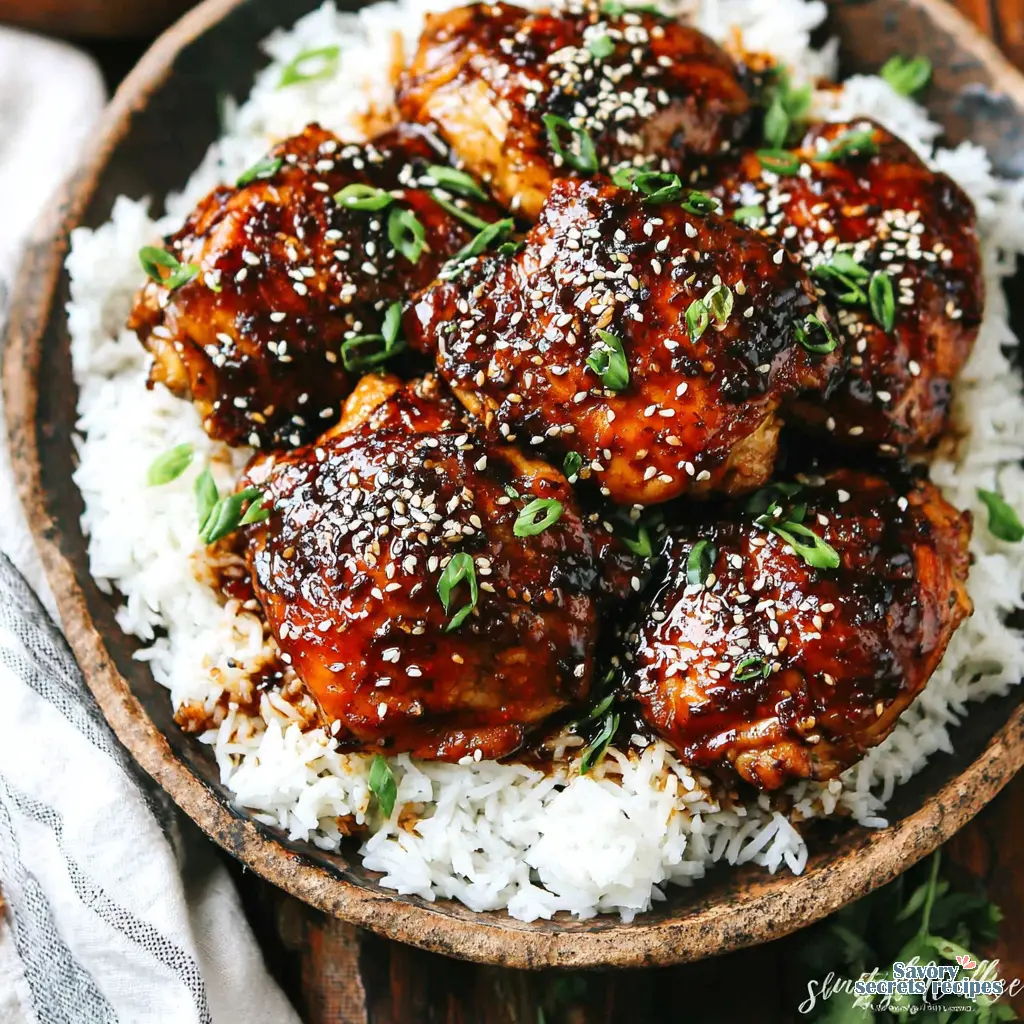
- Transfer the chicken to a serving plate. Spoon the remaining sauce from the pot over the top. Garnish with toasted sesame seeds and sliced green onions, then serve.
Nutrition
Notes
- Soy sauce alternatives. If you are allergic to soy sauce or can’t have soy for other reasons, feel free to use coconut aminos, which is soy-free, gluten-free, and vegan.
- Chicken. You can make this with boneless chicken thighs or chicken breasts, but you will have to adjust the cooking time because boneless meat cooks faster than bone-in.
- Burn notice. If you get a “burn notice” on your Instant Pot, it usually means there’s not enough liquid in the pot or that something is stuck to the bottom. To avoid this, you can deglaze the pot after browning the chicken by adding a bit of broth or water and scraping up any browned bits before adding the honey garlic sauce.
Why This Instant Pot Honey Garlic Chicken Thighs and Rice is a Weeknight Hero
You know the drill. You’ve just dropped the kids off, the clock is ticking toward dinner, and the thought of dirtying every pan in the kitchen makes you want to just order takeout. I’ve been there, more times than I’d like to admit. Let me see it. That’s exactly it. The promise of a one pot meal that actually delivers tender chicken and perfect rice, without the dreaded burn notice flashing at you, feels almost too good to be true.
This instant pot honey garlic chicken thighs and rice recipe is that promise kept. It’s my go to on those chaotic evenings. I’m talking about juicy chicken thighs coated in a sticky, sweet, and savory glaze, all nestled into fluffy jasmine rice that’s cooked right in the same pot. The whole thing comes together in under 30 minutes of hands off time. Good light today for a quick win.
The Technique: Why Searing First Makes All the Difference
I know, I know. You want to just dump everything in and go. I get it. But here’s what I wish someone had told me years ago. That quick sear on the chicken thighs using the sauté function isn’t just for looks. It’s the foundation.
When you brown the chicken, you’re creating a flavorful crust and, more importantly, locking in those juices. The rice will cook in the released chicken broth and sauce later, building in layers of flavor you just can’t get from a raw start. It’s not being fussy. It’s the difference between a good dinner and a “wow, you made this?” dinner. Your mileage may vary, but trust me on this one step.
And about that burn notice fear. This method solves it. By deglazing the pot after searing, you’re scraping up all those tasty browned bits. Those bits are flavor gold, but if left stuck to the bottom, they’re burn notice triggers. A quick splash of broth, a scrape with your spoon, and you’re in the clear.
Your Guide to Perfect Results Every Time
I like recipes where each step has its own visual story. Here’s how to read this one.
The Chicken: I love the Costco boneless, skinless chicken thighs for their consistency and value. Bone in works too, just trim the skin. The color’s not holding if you skip the sear. You’ll know it’s ready to flip when it releases easily from the pot. That sizzle is your cue.
The Rice Ratio: This is non negotiable. For jasmine rice, it’s a 1:1 ratio with liquid. The recipe accounts for the sauce and broth, so please, don’t add extra water. That’s a straight path to soggy rice. Perfect contrast is fluffy, separate grains.
The Natural Release: While it can be tempting to hit that quick release valve the second the timer beeps, don’t. The chicken actually continues to cook gently as the pressure comes down. Rushing it can leave the chicken tough. I give it a full 10 minute natural release. Let it sit. This one’s a keeper.
Common Mistakes & Fixes
Mistake: Releasing pressure too quickly.
Solution: Always allow a 10 minute natural release. It finishes cooking the chicken and rice perfectly.
Mistake: A thin, watery sauce.
Solution: After cooking, remove the chicken and rice. Set the pot to sauté and simmer the sauce for 3 5 minutes. It’ll reduce into a gorgeous, glossy glaze. Needs more acid? A tiny splash of rice vinegar at the end can brighten it.
Mistake: The dreaded burn notice.
Solution: Deglaze thoroughly after searing. Ensure nothing is stuck. If you’re nervous, add an extra 1/4 cup of broth. It’s a safety net.
Mistake: Using chicken breasts with the rice.
Solution: Thighs are more forgiving. If you must use breasts, cook them separately or they’ll overcook. Not quite there yet for a one pot solution.
Making It Your Own: Variations and Swaps
This instant pot honey garlic chicken recipe is a clean read, easy to adjust. Love that texture.
Need Gluten Free? Swap the soy sauce for tamari or coconut aminos. Coconut aminos are my go to. They’re a bit sweeter, so maybe pull back a bit on the honey.
Out of Fresh Garlic? Garlic powder works in a pinch. Use about a teaspoon. But fresh minced garlic gives that aromatic punch that’ll photograph flat otherwise.
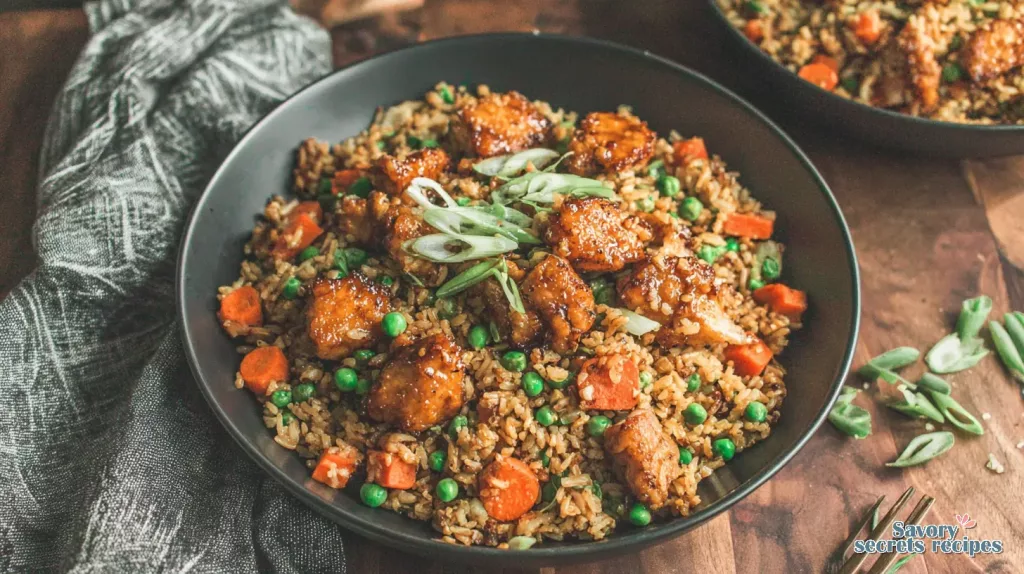
Want More Veggies? Toss in a cup of frozen peas or chopped broccoli florets right after the pressure cooking is done. The residual heat will cook them through. It reminds me of arranging green beans on a white plate with my grandmother. Every element earns its place.
For a Kick: A pinch of red pepper flakes in the sauce adds a nice warmth. Too muddy if you overdo it, though. For a completely different cooking method, try our honey garlic chicken rice in air fryer for a crispy texture.
How to Serve and Style Your Masterpiece
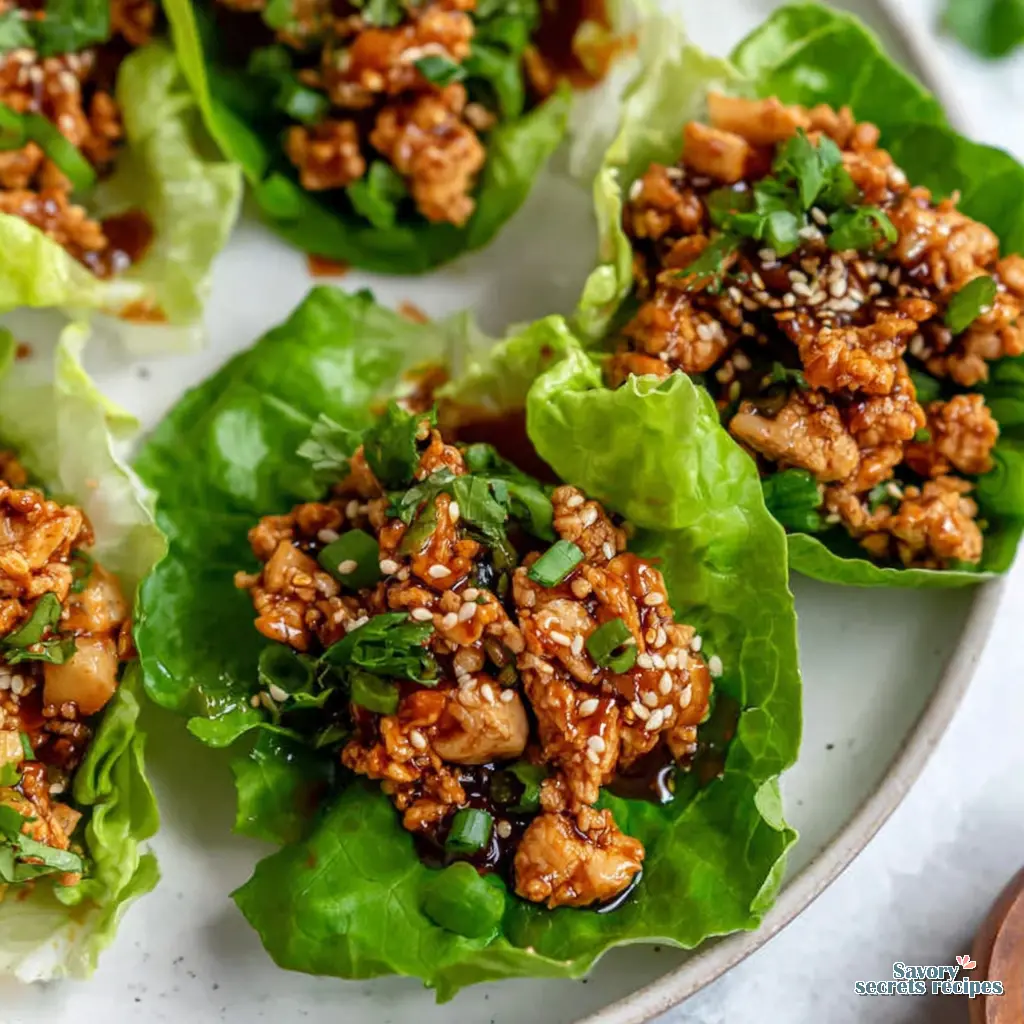
To soak up all that delicious honey garlic sauce, I serve it right from the pot. I’m drawn to high contrast plating. A dark bowl makes the golden rice and glossy chicken pop. A sprinkle of toasted sesame seeds and thinly sliced green onions isn’t just garnish. It’s visual texture, a little crunch, a pop of color.
It takes me back to Sunday mornings making breakfast in terrible light, but the food was still good. This dish doesn’t need much else. Maybe some simple steamed snap peas or roasted asparagus, especially this time of year. That’s the one.
Storing and Reheating Your Leftovers
Let the leftovers cool completely before storing. I keep the chicken and rice together in an airtight container in the fridge. They’ll be good for 3 to 4 days.
Reheating is super easy. I prefer the stove. Just add a splash of water or broth to a skillet, add the leftovers, and cover on low heat until warmed through. It keeps the rice from drying out. The microwave works too, but cover it with a damp paper towel. It’s my version of hospitality, even for tomorrow’s lunch. This dish also works great for honey garlic chicken and rice meal prep if you want to prepare multiple servings ahead of time.
Frequently Asked Questions
The Final Frame
When you make this instant pot honey garlic chicken thighs and rice, you’ll feel that relief. The pot does the work, the kitchen stays clean, and you get to sit down to a meal that feels thoughtfully made. The kids will go for the sweet glaze, and you’ll love the tender, fall apart chicken. It’s a weeknight win that looks great on the plate and even better on the schedule.
I’d love to see your version. Snap a photo and tag me. I share tons of quick dinner ideas and plating tips over on my Pinterest if you’re looking for more inspiration. Now go enjoy your dinner, and that extra half hour you just saved.
Source: Nutritional Information
Can I use chicken breasts for this instant pot honey garlic chicken and rice?
I wouldn’t recommend it for the one pot method with rice. Breasts cook much faster and will overcook by the time the rice is done. If you want to use breasts, cook the sauce and chicken separately on the poultry setting for about 10 minutes, and serve it over separately cooked rice.
How do I prevent a burn notice with this recipe?
Deglaze thoroughly! After searing the chicken, add a bit of broth and scrape every last browned bit off the pot bottom. Also, make sure your honey garlic sauce is well mixed before adding it. If you’re still nervous, an extra 1/4 cup of broth is a safe buffer.
What’s the best way to get a thicker honey garlic sauce?
After pressure cooking, remove the chicken and rice. Turn the sauté function back on and let the remaining sauce bubble for 3 to 5 minutes. It’ll reduce and thicken beautifully into a sticky glaze. You can also mix a teaspoon of cornstarch with a tablespoon of water and stir it in.
Can I make this instant pot honey garlic chicken thighs and rice with frozen chicken?
You can, but you’ll need to adjust. Don’t sear frozen chicken. Just add it to the pot with the sauce and an extra 1/2 cup of broth. Pressure cook for 12 15 minutes, then proceed with the natural release. The rice cooking time stays the same.