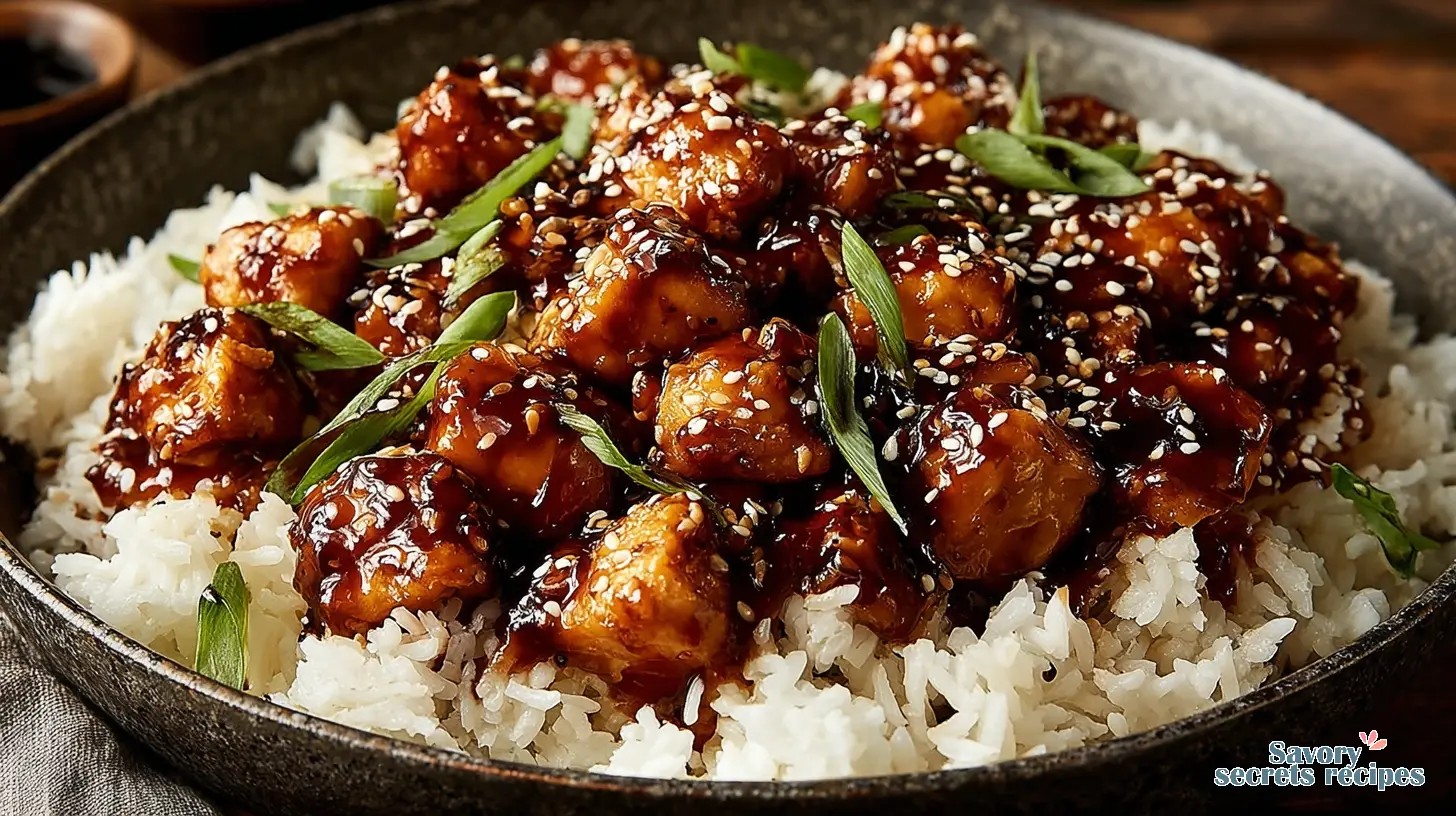
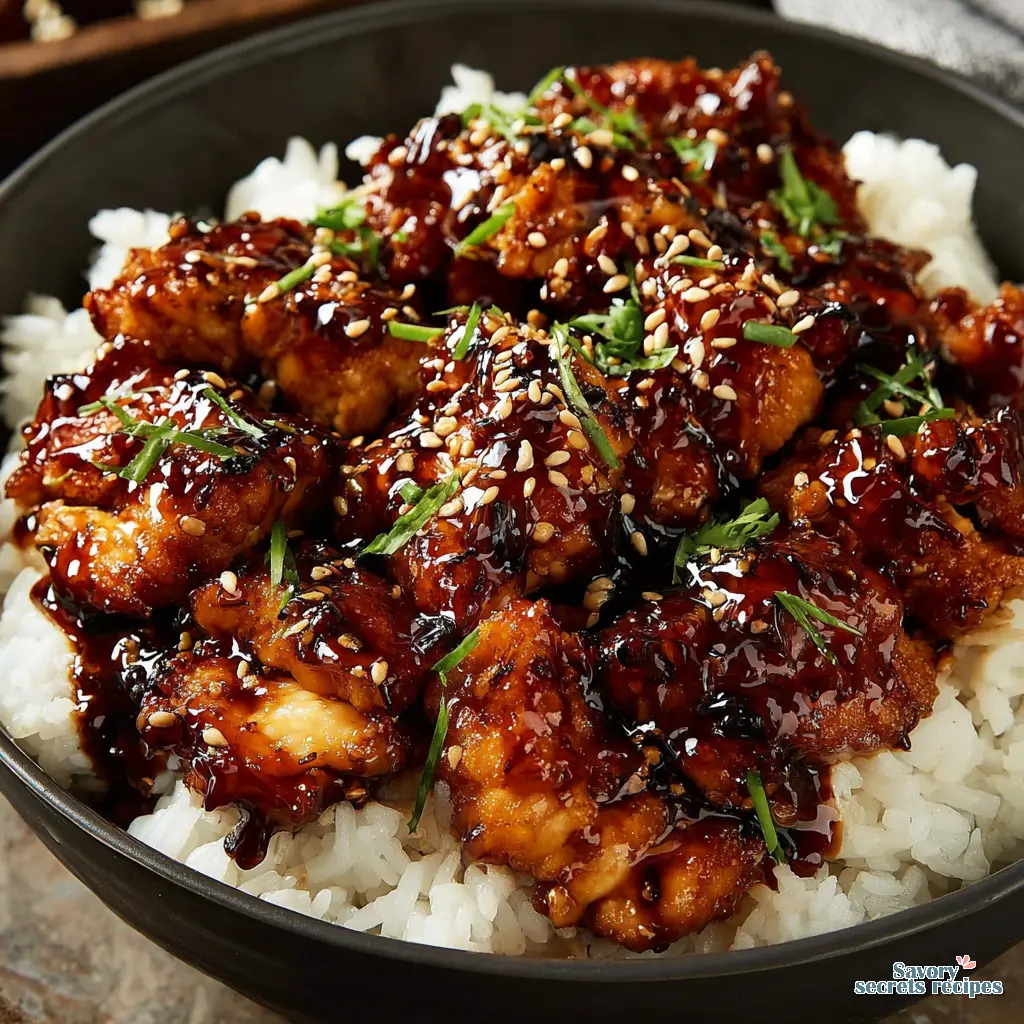
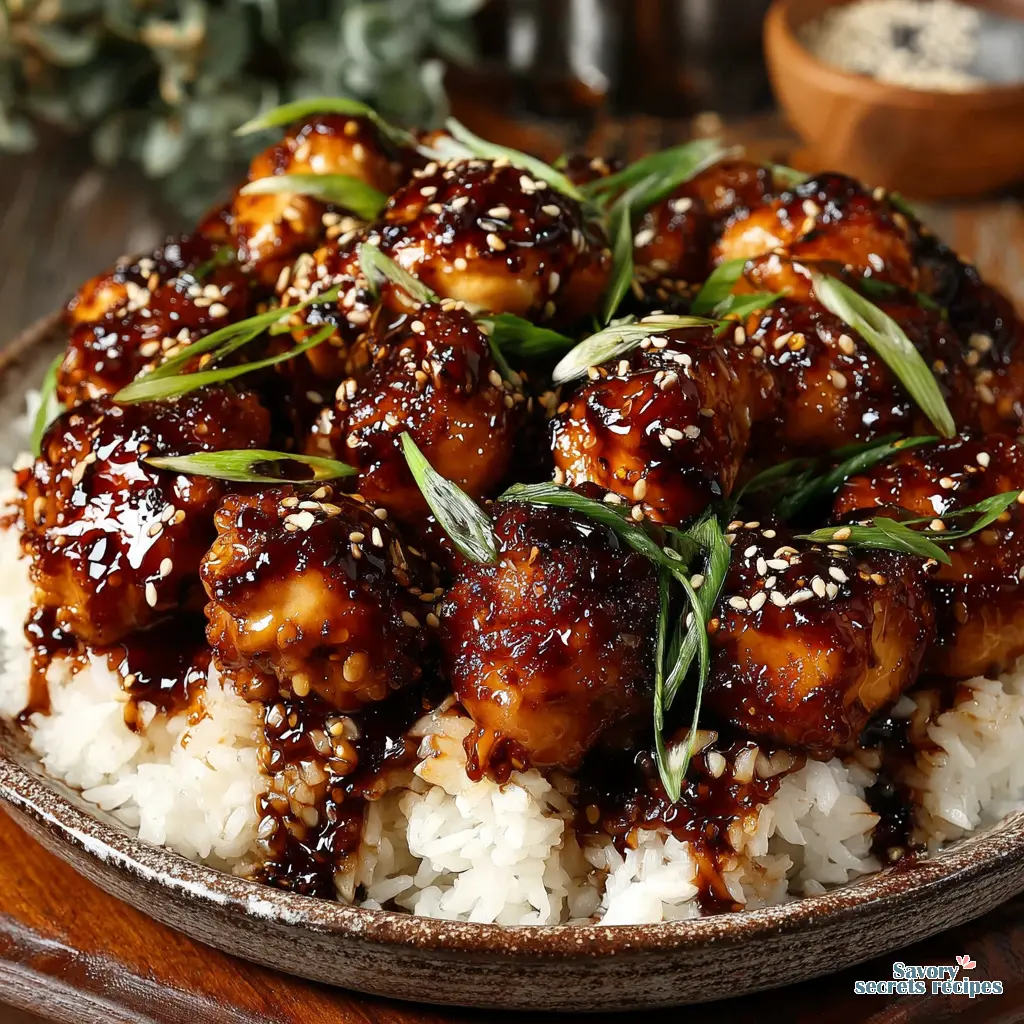
Japanese Honey Garlic Chicken Rice Bowl
Ingredients
Method
- Heat a bit of cooking oil in a pan over medium heat.
- Add the diced chicken and season with salt and pepper.
- Cook the chicken for 6–8 minutes, or until browned and cooked through.
- While the chicken cooks, mix the honey, soy sauce, and minced garlic in a separate bowl.
- Pour the sauce over the cooked chicken and simmer for an additional 5 minutes, or until the sauce thickens.
- Serve the glazed chicken over the cooked rice.
- Just before serving, sprinkle on the sesame seeds and sliced green onions.
Nutrition
Notes
You Know That Weeknight Dinner Panic? This Solves It.
It’s Wednesday. Honestly, you’re juggling work, maybe some laundry, and the clock is ticking toward dinner time. You open the fridge and it’s just… stuff. Chicken. Some soy sauce. A bottle of honey. You could make something bland, or you could make something amazing. I’m talking about that sweet, salty, sticky Japanese honey garlic chicken rice style that feels like a restaurant splurge but comes together in your own skillet in about 30 minutes.
The problem most people run into, you know, is that the chicken turns out dry or the sauce is just too sweet, like candy. It misses that deep, savory umami that makes Japanese food so good. I mean, I’ve been there. The first time I tried to make this, I just threw soy and honey together and wondered why it tasted so one-dimensional.
What if you could get that authentic Japanese umami in 20 minutes of active cooking? The secret isn’t a long list of ingredients, it’s knowing how a few key pantry staples work together. This japanese honey garlic chicken rice style recipe is built on that principle. It’s simpler than you think, and I’ll walk you through every single why and how.
Why This Japanese Honey Garlic Chicken Recipe Actually Works
Let’s talk about why most recipes fail. They treat the sauce as an afterthought. You cook the chicken, then pour a glaze on top. What you get is chicken with sauce on it, not chicken infused with flavor. The method here is different. We build layers.
First, we get a proper sear on the chicken. That golden brown crust isn’t just for looks. It creates fond, those little browned bits stuck to the pan, which are pure flavor gold. Then, we use that same pan to make the sauce, deglazing with the liquid ingredients so all that goodness gets incorporated. The sauce reduces and thickens right around the chicken, so it clings and caramelizes. It becomes part of the dish.
The other key is balance. Honey for sweetness, sure. But mirin adds a gentle acidity and complex sweetness that plain sugar or more honey can’t. Soy sauce brings the salt and umami. A touch of grated ginger and garlic paste, not just minced, creates a more integrated aroma that won’t burn. When these elements reduce together, they create a glaze with depth. It’s sweet, salty, savory, and glossy. Perfectly tender chicken, a sauce that snaps when you drag a fork through it, over fluffy rice. That’s the goal.
Gathering Your Japanese Pantry Staples (It’s Easier Than You Think)
Don’t let the word “Japanese” intimidate you. You probably have half of this already. For the japanese honey garlic chicken rice style, you’ll need a quick checklist: chicken (thighs are best, more on that in a second), soy sauce, honey, garlic, ginger, and a neutral oil.
The two ingredients that might be new are mirin and dashi. Mirin is a sweet Japanese rice wine. It’s the magic that keeps the sauce from being cloying. You can find it in the Asian aisle of any Ralphs or Vons here in LA, or at Trader Joe’s sometimes. If you’re in a real pinch, a tiny splash of apple cider vinegar mixed with a half-teaspoon of sugar can stand in, but honestly, grab a bottle. It lasts forever in the fridge and transforms stir-fries.
Dashi is a Japanese soup stock. For the rice, it adds an incredible savory background. You can find instant dashi granules or packets near the mirin. Using it to cook your rice is a game-changer. If you don’t have it, using a low-sodium chicken broth is totally fine. This is about building flavor where you can.
The Chicken Decision: Thighs vs. Breasts
Here’s my opinion, and I know it’s a common one: use boneless, skinless chicken thighs. I think they’re just right for this. They stay juicy even if you accidentally overcook them by a minute, and they have more flavor. They’re forgiving, which is what you want on a busy night.
But look, I get it. Maybe you have breasts in the fridge, or your family prefers white meat. You can absolutely use chicken breasts for this japanese honey garlic chicken rice style. The trick is to slice them into cutlets or pound them to an even thickness so they cook quickly and evenly. A breast that’s too thick will be dry on the outside before it’s cooked through. So if you go with breast, take that extra minute to flatten it. It’s worth it.
Your Step-by-Step Roadmap to Success
Okay, let’s cook. First, pat your chicken pieces very dry with paper towels. This is non-negotiable. Wet chicken steams instead of sears. Then, lightly season them with salt. Not a ton, because the soy sauce is salty, but a pinch on each side adds depth.
Heat your oil in a large skillet over medium-high heat. You want it shimmering but not smoking. Add the chicken in a single layer. Don’t overcrowd the pan. If you pile it in, the chicken will steam and release liquid, and you’ll never get that beautiful crust. Cook it in batches if you need to. It feels like an extra step, but it’s the difference between okay and amazing.
Sear for about 3-4 minutes per side, until you get that perfect golden brown color. Then remove the chicken to a plate. It won’t be fully cooked inside yet, and that’s good. It’s going back in.
Now, lower the heat to medium. In that same pan with all the delicious browned bits, you’ll add your sauce ingredients: soy sauce, honey, mirin, and that ginger-garlic paste. Use a whisk to scrape up all the fond. That’s where the flavor is. Let it simmer and bubble for a minute or two. You’ll see it start to thicken slightly.
Return the chicken to the pan, along with any juices that collected on the plate. Spoon the sauce over the chicken and let it cook for another 5-7 minutes, turning the pieces occasionally, until the chicken is cooked through and the sauce has reduced to a thick, glossy glaze that coats the back of a spoon. The sound will change from a rapid bubble to a slower, sticky simmer. You’ll smell it. It’s so good.
For those interested in exploring different cooking methods for a similar dish, you might enjoy an Instant Pot honey garlic chicken and rice recipe, which offers a quick and convenient alternative.
Visual Troubleshooting: Is My Sauce Right?
Problem: The sauce is too thin and watery.
Solution: Just keep simmering. The sugars need time to caramelize and thicken. If the chicken is done, remove it and let the sauce bubble alone for another minute or two.
Problem: The sauce is too thick and starting to burn.
Solution: Add a splash of water, maybe a tablespoon, and swirl the pan. It will loosen right up.
Problem: The glaze isn’t sticking to the chicken.
Solution: Make sure you pat the chicken dry at the start. Also, let the sauce reduce a bit before adding the chicken back in, so it’s already syrupy.
Tips for Perfect Japanese Honey Garlic Chicken Every Single Time
Make the sauce first. I mean, get all your sauce ingredients measured and in a bowl before you even turn on the stove. This recipe cooks fast, and you don’t want to be fumbling with the honey bottle while your chicken overcears.
Don’t overcook the chicken. Since the pieces are small or pounded thin, they cook quickly. Once you return them to the glaze, they just need to finish cooking through and get coated. A digital thermometer is your friend here. Aim for 165°F (74°C) at the thickest part.
For a gluten-free version, it’s incredibly easy. Use tamari instead of regular soy sauce. Tamari is a gluten-free Japanese soy sauce, and it’s available everywhere now, even at Costco. Honestly, it tastes just as good, maybe even a bit richer.
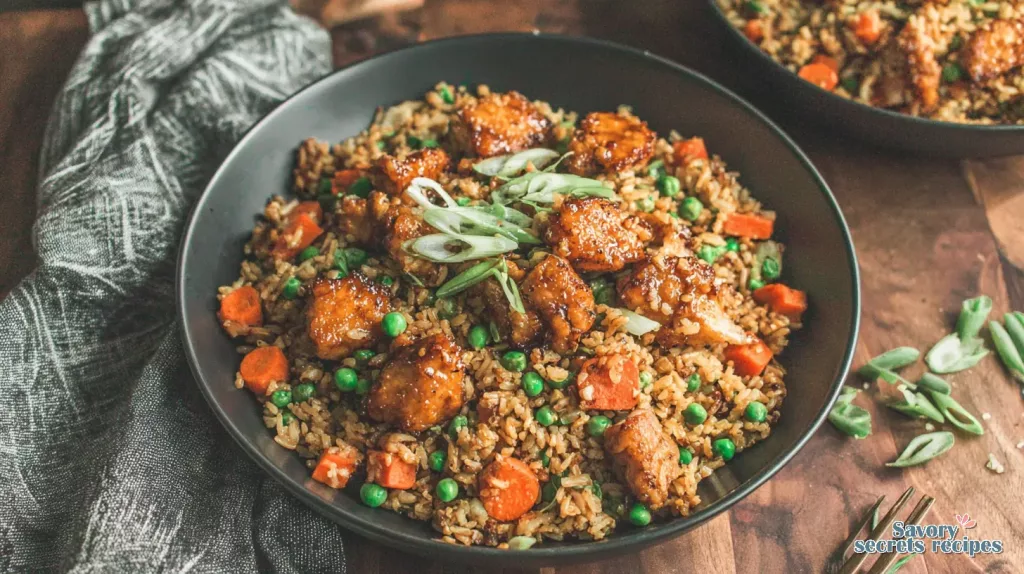
Want to add vegetables? You can toss in some broccoli florets or sliced bell peppers when you return the chicken to the pan. Or, serve it with a simple side of sautéed bok choy or steamed edamame. It brightens up the whole plate.
How to Serve It Like You Mean It
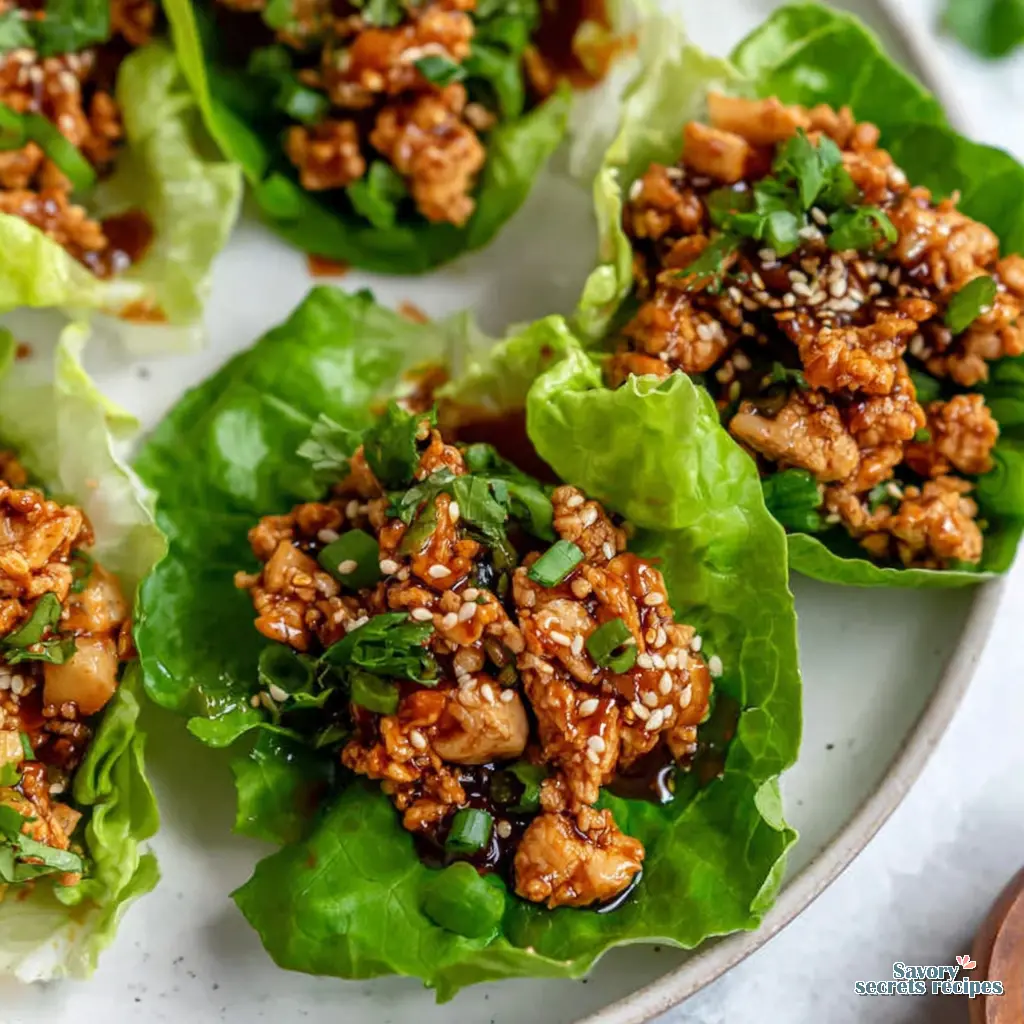
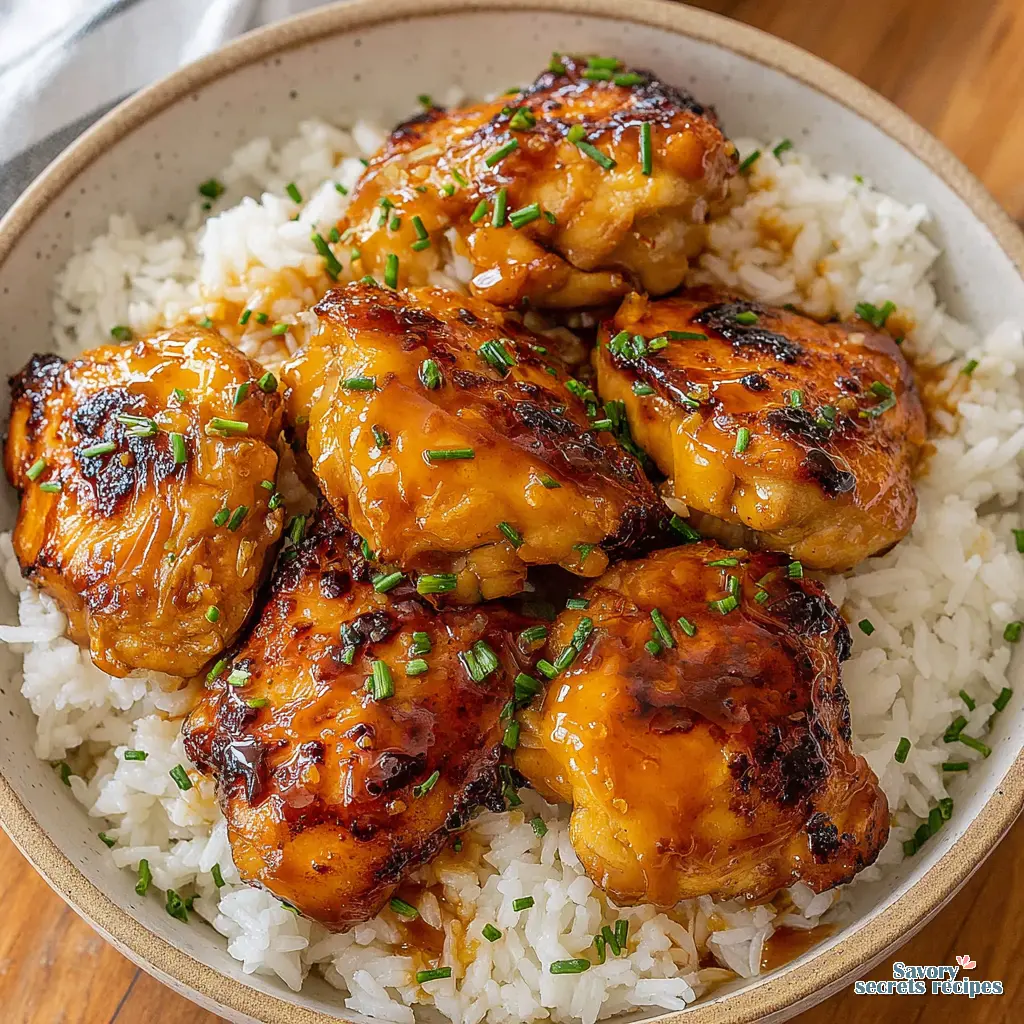
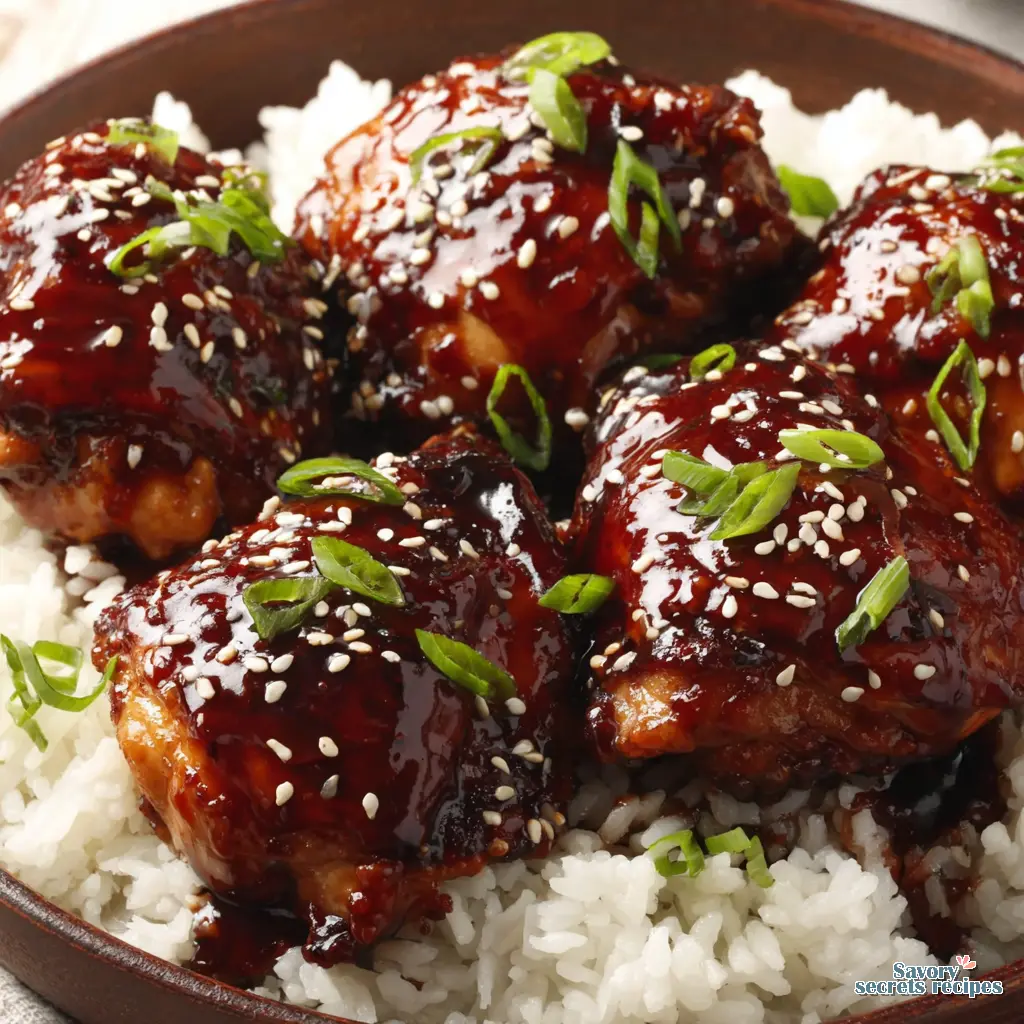
This is where it all comes together. That fluffy rice you cooked, ideally in dashi broth for extra umami, is your base. Spoon it into a shallow bowl. Place a piece or two of that glossy chicken right on top. Drizzle every last bit of that sticky honey garlic glaze from the pan over everything. For a beautifully presented meal, you might also enjoy exploring variations like a dedicated honey garlic chicken rice bowl recipe.
The garnish isn’t just decoration. A sprinkle of toasted sesame seeds adds a nutty crunch. Thinly sliced green onions give a fresh, sharp bite that cuts through the richness. Sometimes I add a few shreds of pickled ginger on the side for a bright, palate-cleansing punch. It makes it feel complete.
Imagine cutting into that chicken. The exterior has a slight resistance from the caramelized glaze, then it gives way to juicy, tender meat. You get a bit of everything in one forkful: the sweet-salty chicken, the fluffy rice, the crunch of sesame. It’s a weeknight dinner that feels like a celebration.
Storing, Reheating, and Your Leftover Game Plan
Got leftovers? Amazing. This japanese honey garlic chicken rice style keeps really well. Let it cool completely, then store the chicken and rice separately in airtight containers in the fridge. It’ll be good for up to 4 days.
Reheating is key to keeping it tasty. The microwave can make the chicken rubbery. My favorite method is to reheat it in a skillet. A tiny splash of water in the pan with the chicken, cover it, and warm it over medium-low heat until it’s steaming. It helps revive the glaze. For the rice, a quick steam in the microwave with a damp paper towel over it works perfectly.
You can also freeze the cooked chicken for up to 2 months. Thaw it overnight in the fridge before reheating. The texture might be a tiny bit less tender, but the flavor will still be fantastic for a quick future meal.
Frequently Asked Questions
Your Japanese-Style Dinner Is Just a Skillet Away
When you plate this japanese honey garlic chicken rice style, you’ll see it. That professional-looking gloss, the way the sesame seeds stick to the glaze. You’ll hear the quiet crackle as you cut into it. But more than that, you’ll feel that pride of making something that tastes complex and special, without the stress.
It proves that a great weeknight meal doesn’t have to be complicated. It just needs a solid method and an understanding of how a few good ingredients work together. This recipe is your foundation. Once you’ve got it down, you can play with it. Add a little chili paste for heat. Try it with salmon. The possibilities are wide open. If you’re interested in experimenting with different flavor profiles, you might enjoy variations such as honey lemon garlic chicken with rice for a brighter, zestier twist.
I’d love to see your version. Honestly, it makes my day. If you share a photo, tag me. For more weeknight inspiration and twists on classics, you can always check out my Pinterest boards. Now, go preheat that skillet. Your new favorite dinner is waiting.
Source: Nutritional Information
What ingredients do I need for authentic Japanese honey garlic chicken rice style?
You’ll need boneless chicken, soy sauce, honey, mirin, fresh garlic and ginger, and a neutral oil. For the rice, short-grain rice cooked in dashi broth makes it truly authentic. Mirin and dashi are the key Japanese pantry staples that build the classic umami flavor profile.
How do I make the honey garlic sauce for Japanese-style chicken and rice?
After searing the chicken, use the same pan. Combine soy sauce, honey, mirin, and ginger-garlic paste, scraping up the browned bits. Simmer until it thickens into a glaze. The trick is reducing it with the chicken so the flavor gets absorbed, not just poured on top.
Can I use chicken thighs instead of breasts for this Japanese honey garlic chicken recipe?
Absolutely, and I recommend it. Thighs stay juicier and are more forgiving if you overcook them slightly. They have more fat, which means more flavor. Just cook them a minute or two longer than you would breast to ensure they’re done.
What are some side dishes to serve with Japanese honey garlic chicken rice?
Keep it simple and fresh. Steamed edamame with sea salt, a quick stir-fry of bok choy with garlic, or a simple cucumber salad with rice vinegar. A small bowl of miso soup also makes the meal feel complete and authentic.
How long does leftover Japanese style honey garlic chicken and rice keep in the fridge?
Store them in separate containers for best results. The chicken will keep for up to 4 days, and the rice for 3-4 days. Always reheat thoroughly until steaming hot. The flavors actually meld and get better the next day.
Can I make this japanese honey garlic chicken rice style gluten-free?
Yes, it’s very easy. Simply swap the regular soy sauce for tamari, which is a gluten-free Japanese soy sauce. Double-check that your mirin is gluten-free (most are), and you’ve got a delicious gluten-free dinner that doesn’t compromise on flavor.
What if I don’t have mirin? Is there a substitute?
You can mix 1 teaspoon of sugar with 1 tablespoon of apple cider vinegar or white wine vinegar. It won’t be exactly the same, but it will provide the needed acidity and touch of sweetness. For the best japanese honey garlic chicken rice style, though, mirin is worth seeking out.
How can I add vegetables to this dish?
Add hardy veggies like broccoli or snap peas to the pan after removing the seared chicken. Sauté for 2-3 minutes, then push them to the side when you make the sauce. They’ll finish cooking when you return the chicken, soaking up all that amazing honey garlic flavor.
My sauce burned a little. Can I fix it?
If it’s just a few bits, carefully pour the sauce into a clean bowl, leaving the burnt pieces in the pan. If the whole sauce tastes bitter, it’s best to start that part over. Remember, medium heat is your friend when reducing the glaze.